

There’s nothing more frustrating than a loose and wobbly stair spindle! Having recently completed a huge amount of structural building work on the upstairs of our house, it was hardly surprising to find some of our stair spindles had become loose in their joints. Months of vibrations through the house had clearly helped loosen some of the joints allowing the spindles to move within them. Nothing bad enough to be unsafe or to worry us, just enough that you felt it any time you touched the spindle. What did this mean? We were forever drawn to touching them as we walked up the stairs and it started to drive me mad, but how do you fix a wobbly spindle?
A quick Google showed me that fixing loose stair spindles can be a relatively easy job. Simply create a thin shim (super thin wedge of wood), place this into the hole, hammer it gently in to place and cut/sand off the excess thus wedging the spindle back into place and stopping the wobble. But our cracks were tiny, making this wedge technique impossible. We were talking 1mm gaps maximum, enough to be irritating and to make a noise when you touch the spindle but not enough to make fixing simple.
I’m pleased to say that I managed to fix all four wobbly spindles in under five minutes, with minimal fuss, mess, equipment or cost. How? Simple!
How To Fix A Loose Stair Spindle
As I mentioned, our gaps were too small to use traditional ways to fix wobbly stair spindles. Whilst this originally caused concern, we quickly realised that this could be to our advantage, as such this technique only works on spindles with a small gap in the joint at the top. Anything larger and you’ll need to go down the wooden shim route.
You’ll need some Chair Doctor Glue, a damp cloth and something to wedge between your spindles to hold them in the joint where you want them. Chair Doctor Glue is a product that makes the wood swell within the joint, before binding it together. In reality, disassembling a wooden product and using a glue to rejoin it would be preferable but sometimes this just isn’t possible, thus Chair Doctor Glue is required.
Inside the packet is the glue itself and a syringe complete with three small tips. Select the size of the tip that will fit into your hole – for us this was the smallest one. Then, before fitting the tip, use the syringe to suck a small amount of glue out of the main bottle. Put the tip on to your syringe and give it a brief squeeze to get the Chair Doctor Glue to fill the tip. You’re ready to go!
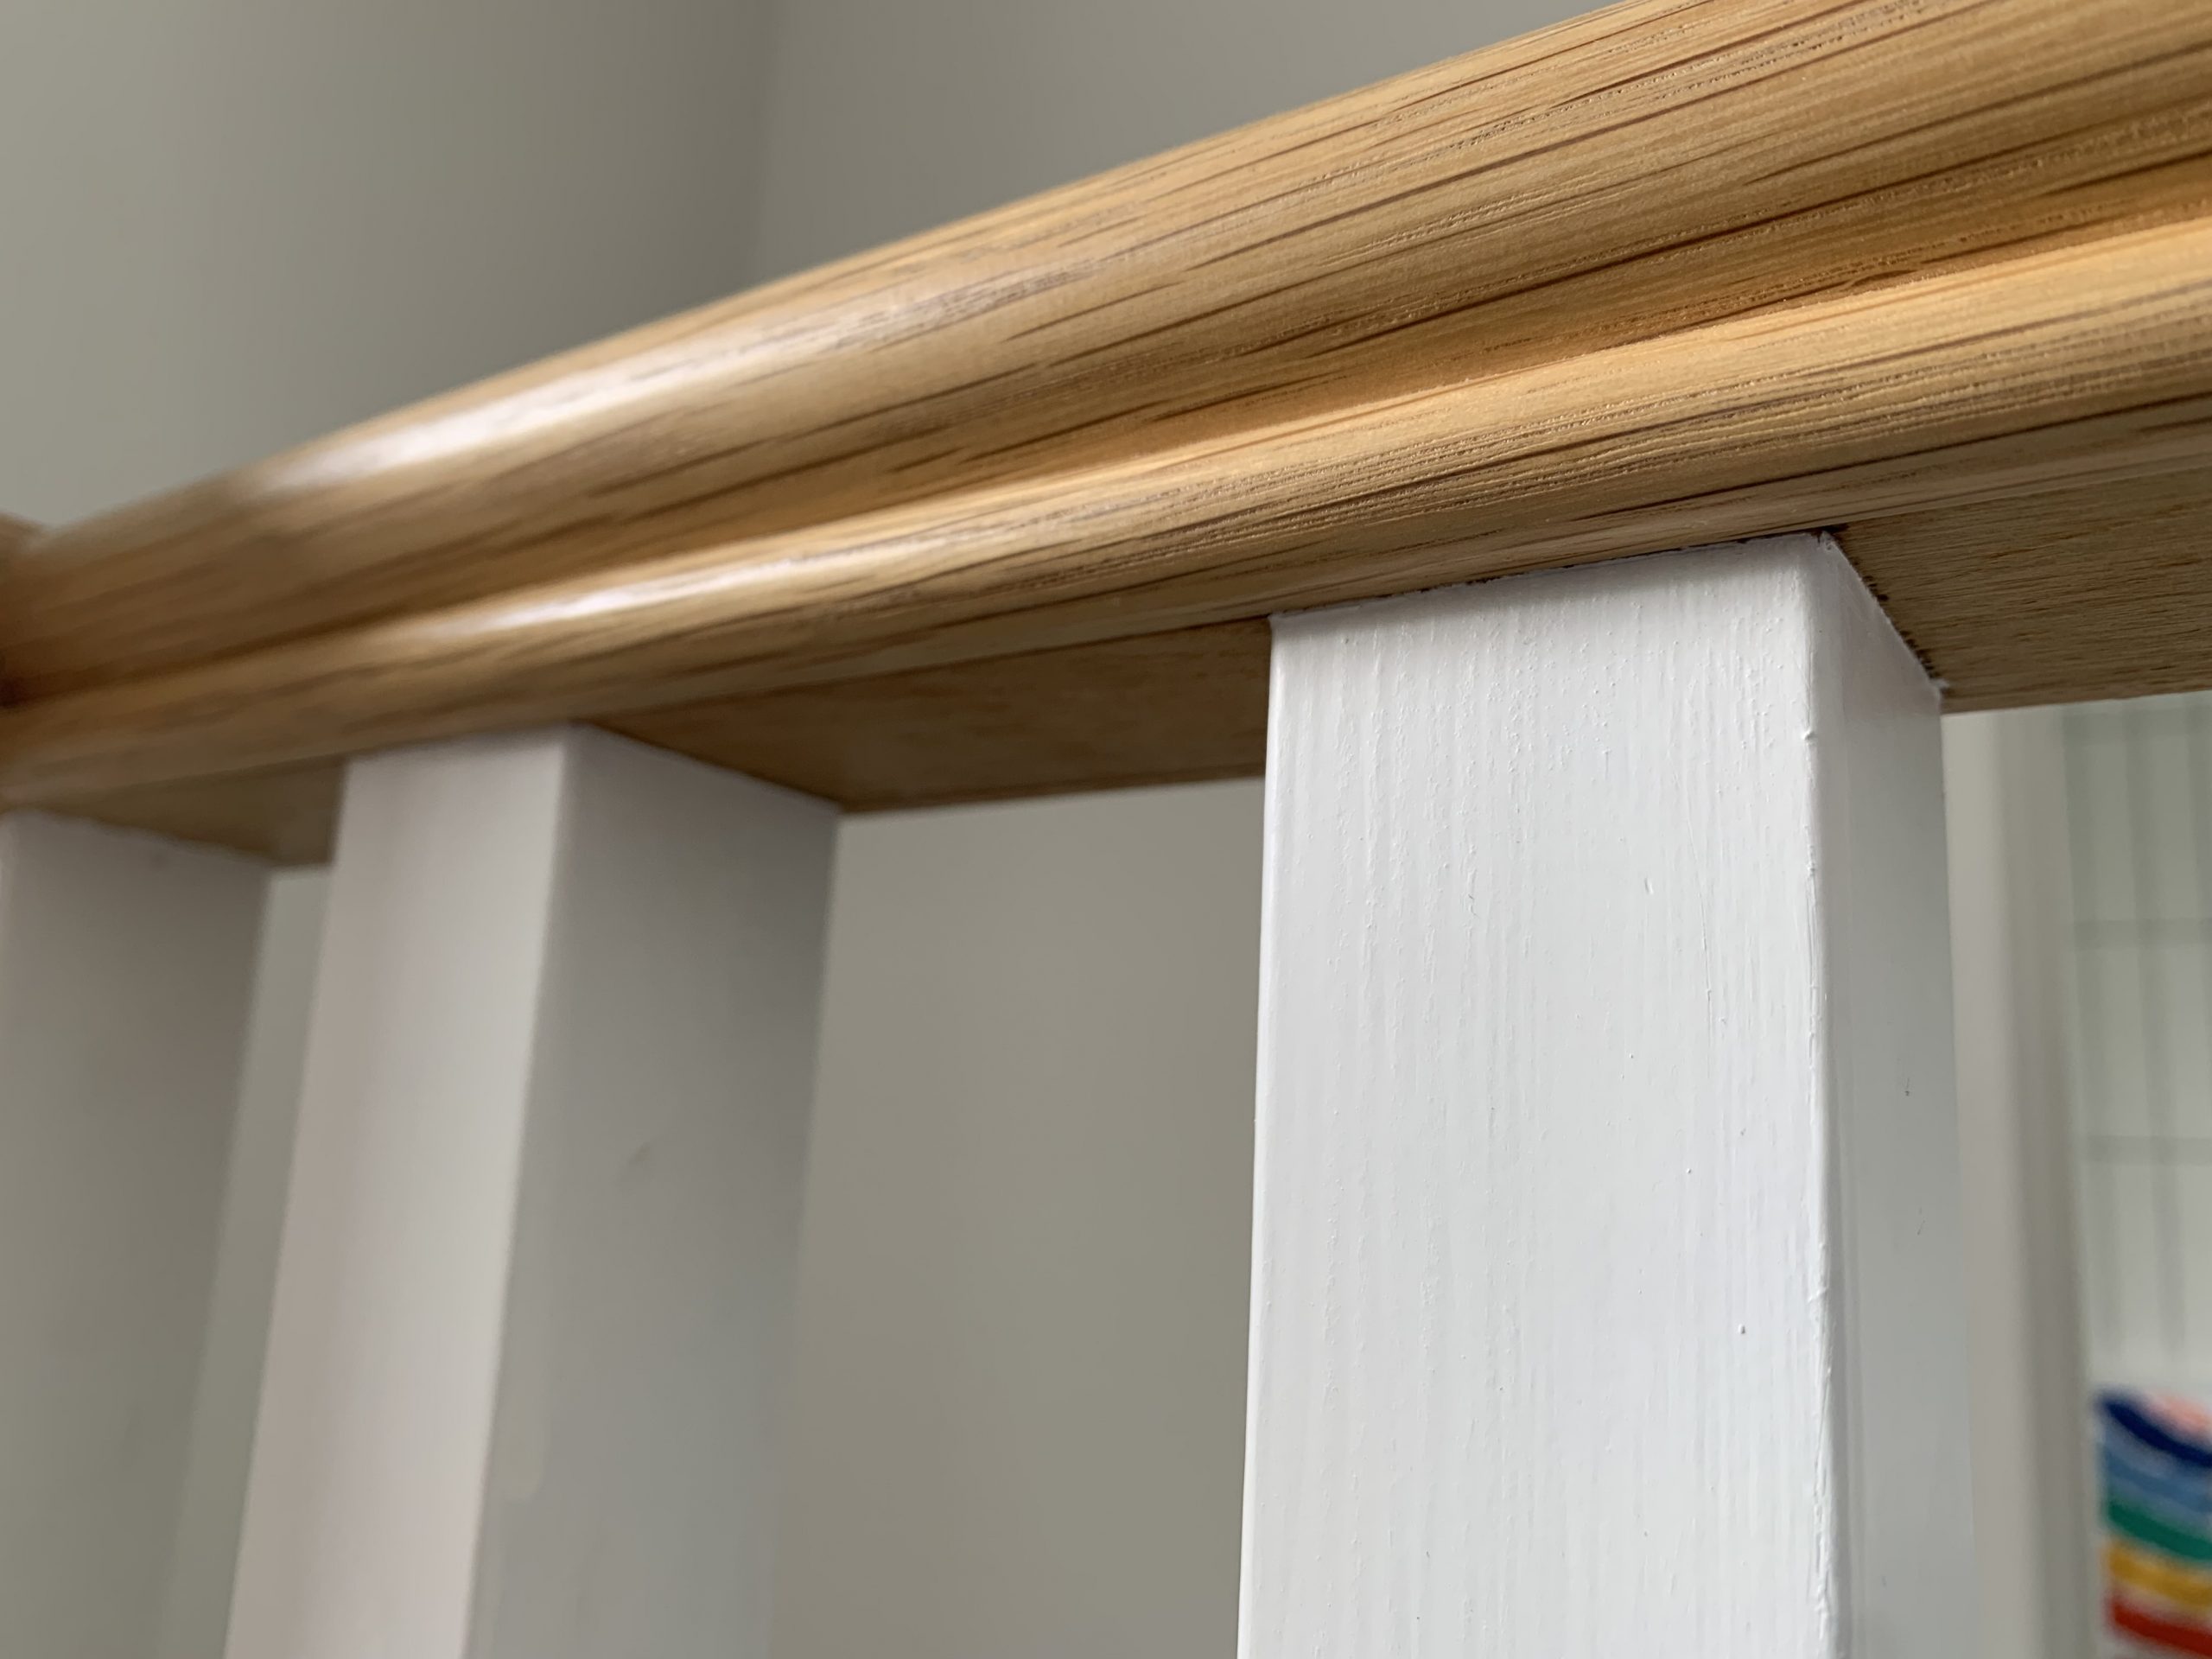
Place the tip of your syringe inside the gap between the top of the spindle and the normal edge of the joint. Fill the gap with glue and wipe away any excess with a damp cloth. For further help, I went around all four sides of the spindle and syringed a small amount along each part of the joint, wiping afterward. The glue does dry clear but it’s good to make sure you have no drips!
Hold your spindle in place if required until the glue has done its magic, soaking in to the wood and swelling it. I did this by wedging a book or two between the spindles to keep them held over more to one side within the joint. Leave it for a couple of hours if you can just to make sure it’s properly set and there you have it – no more wobble!
Let me know if you give it a go in the comments below!


No Comments