
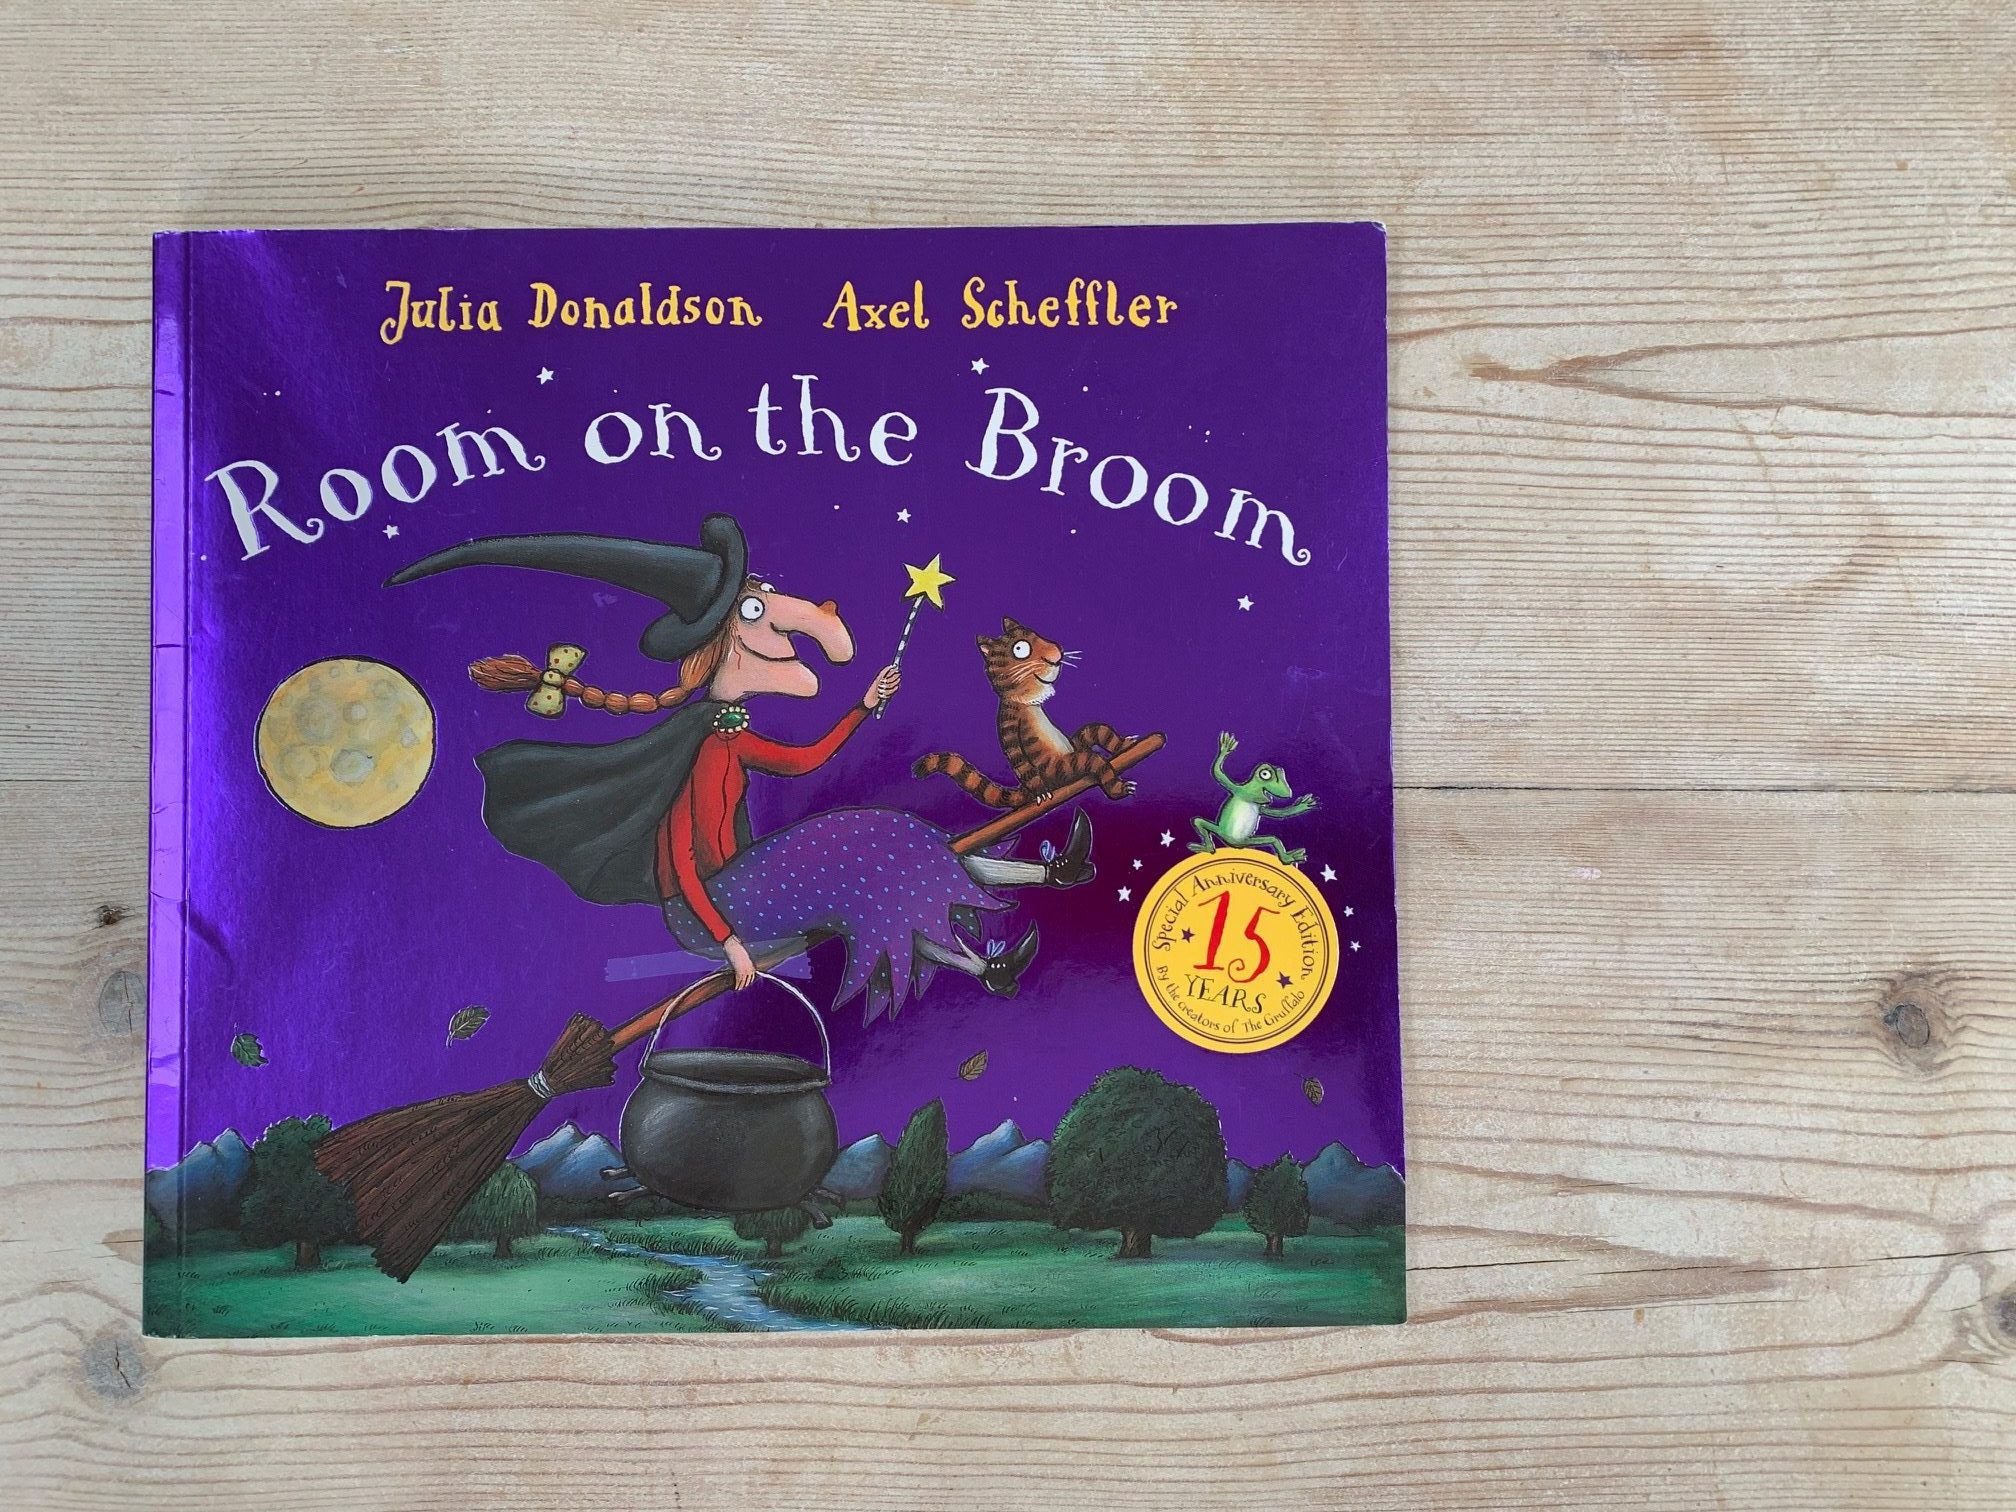
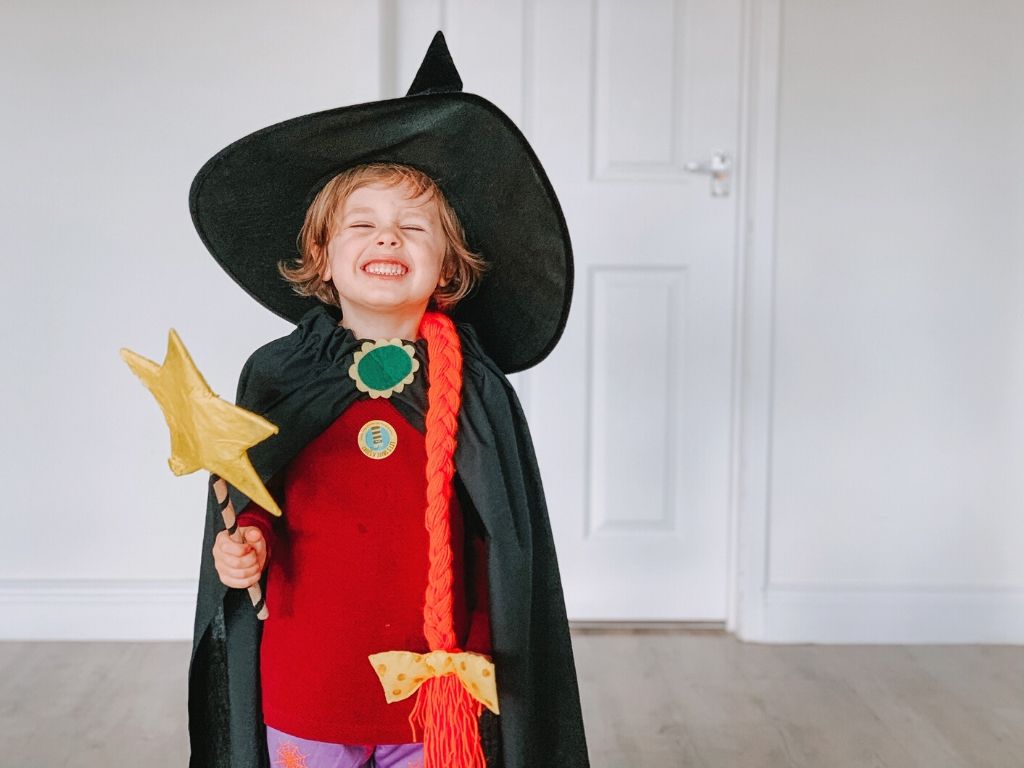
Room on the Broom is one of our favourite family books, so it’s no surprise that when we needed a costume for World Book Day we opted for the Room on the Broom witch! This Room on the Broom costume is simple to make, has minimal costs and works well for themed days and Halloween as well. Plus, it’s super cute. Thankfully it’s a pretty easy costume to put together, so in the interests of sharing, here’s how we made our simple witches costume from Room On The Broom.
Room On The Broom Costume – The Witch
Costume Elements
The Witch in Room On The Broom has a simple but quite defined costume. Here are the various parts you can make:
- A witches hat complete with long ginger plait/braid
- The bow
- The wand
- The cloak
Under clothes consisting of a red top and purple trousers or a skirt can be worn to complete the outfit. If you’d like to add a broom, cauldron or any of the creatures she travels with; a cat, dog, frog and bird then the more the merrier. Due to going to pre-school for the day, we felt most of these bits would get lost along the way so left them out… although I still hanker over a mini broom!
**This post contains affiliate links. If you use these links, it doesn’t affect the price that you pay but we may get a small commission off of every purchase.**
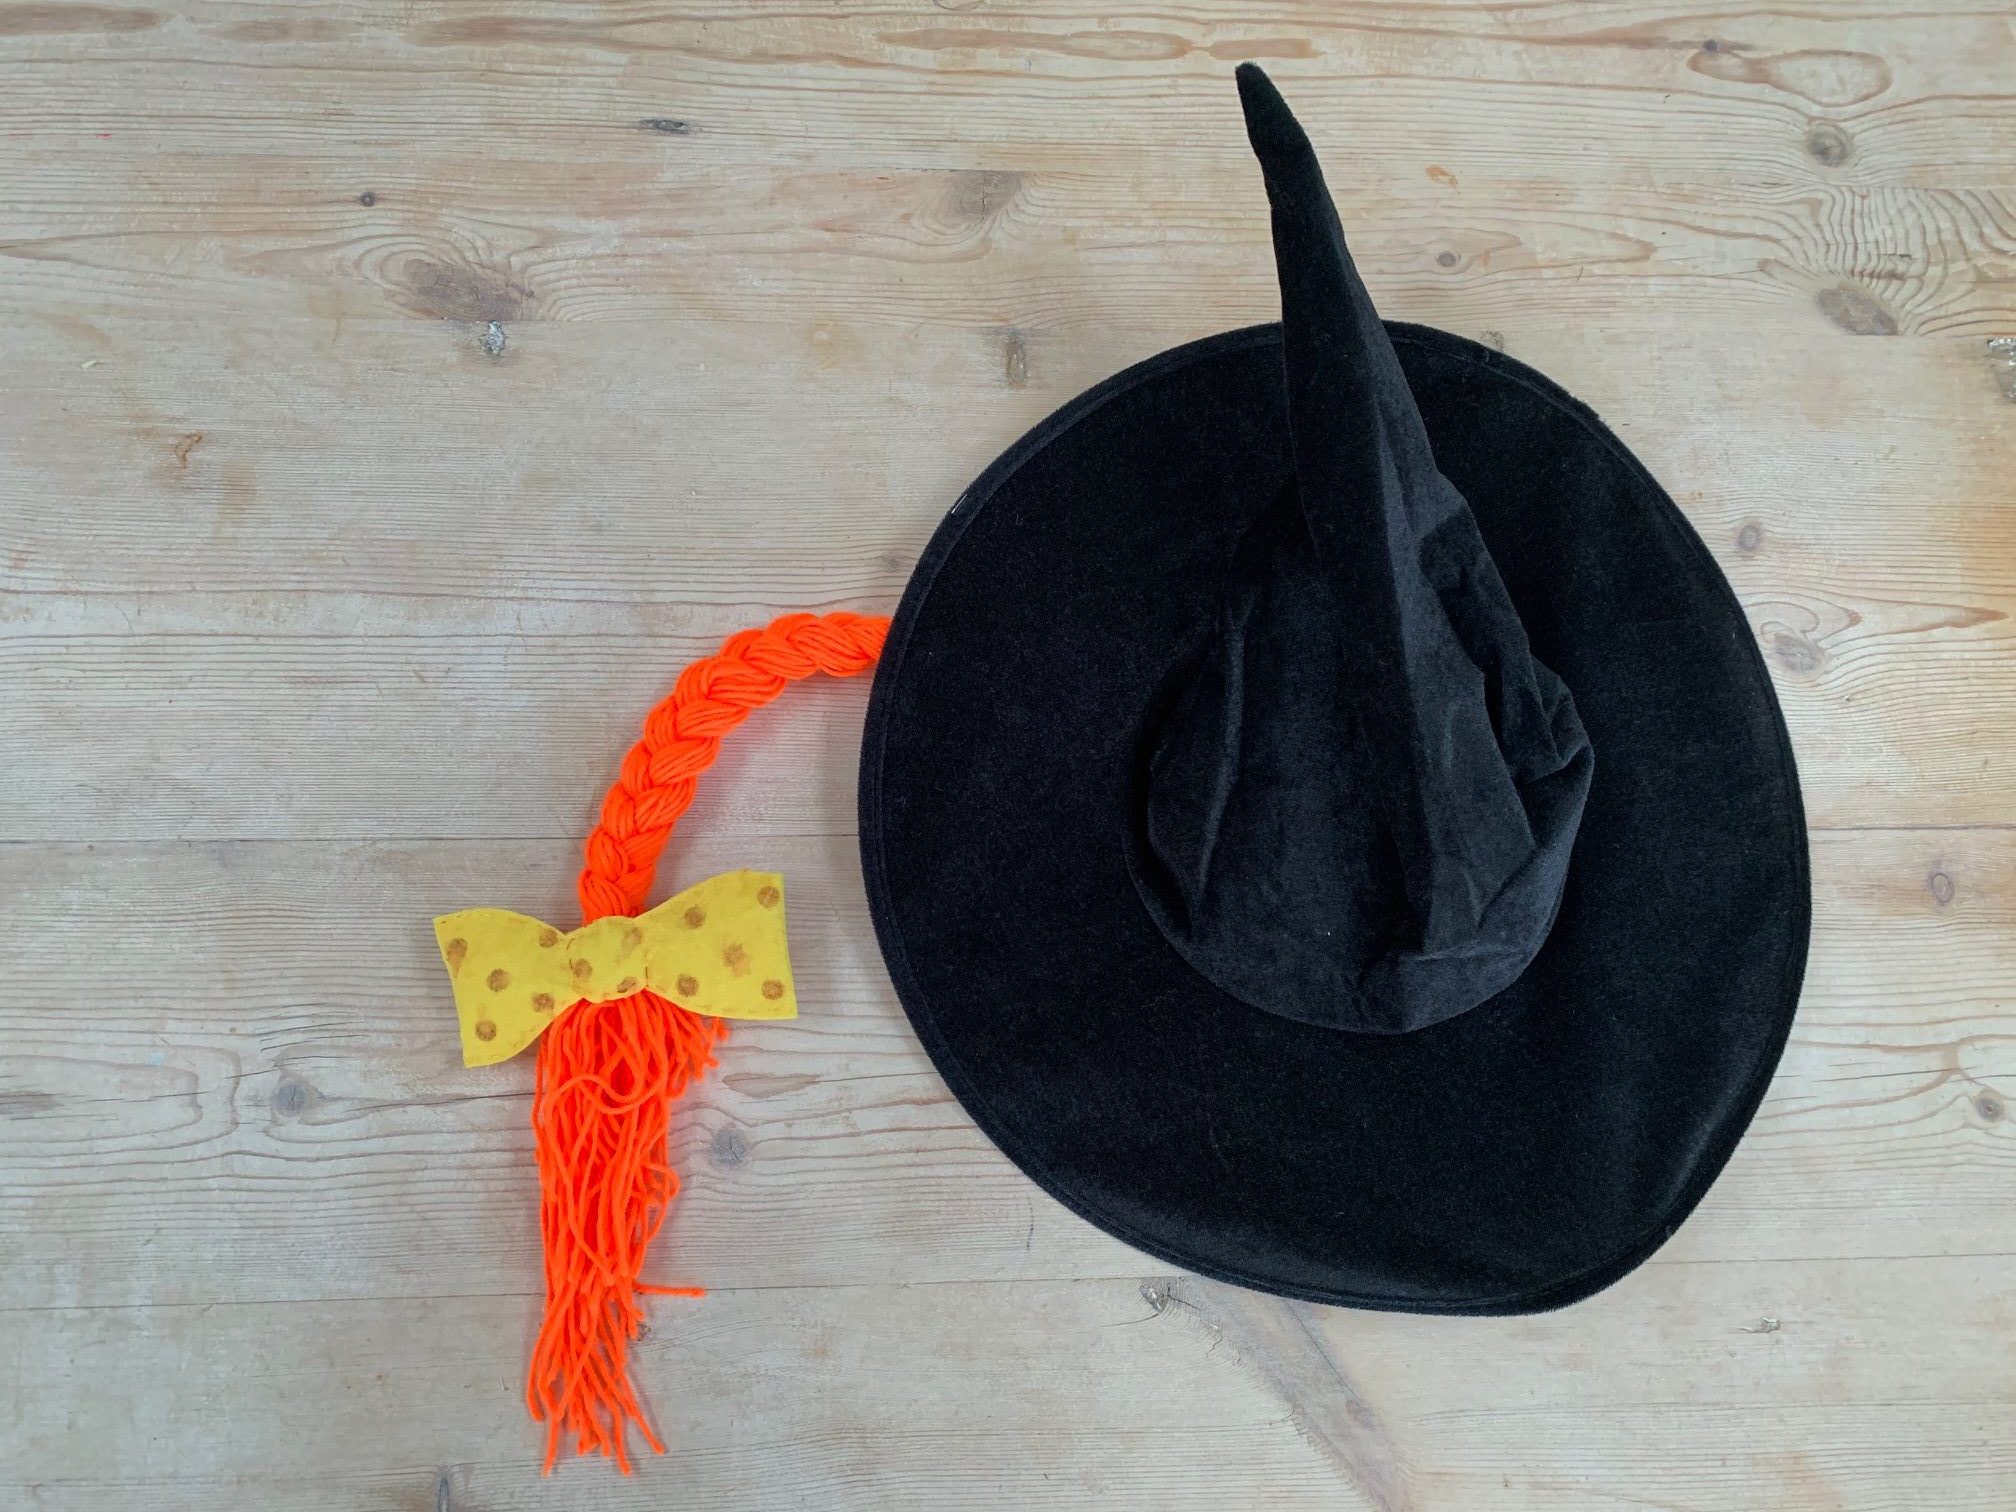
Witches Hat With Long Ginger Plait
You will need:
- A witches hat or black cardboard and glue
- Orange wool
- An elastic hairband
- Some scissors
We all know that the book references the Witch’s long ginger hair which she wear in a plait so it’s a bit of a must have. To start with, we reused a witches hat from our Halloween selection before adding in the ginger hair made from orange wool. If you need to make a hat then you can do this by cutting a large black circle of card, cutting in from one side to the centre and rolling it to turn it into a cone. Glue the cone to size before cutting in to the end about 3cm in every couple of centimetres, fold these outward to make tabs that allow your cone to sit on a surface.. This is how you’ll attach it to the brim. Cut two new large circles for the brim, cutting a circular hole in the middle of them the size of your child’s head. Place one on top of the cone so that the cone goes through the hole, and glue the tabs to the underside. Attach the other circle to the bottom, sandwiching in the tabs and neatening things up.
Start by measuring out your wool into metre lengths, we did this by tying it one chair leg before pulling it over to another about a metre way, passing it around the chair leg and looping back to the start. Keep going this until you have a substantial amount of wool in place that when bunched together with your hand is about an inch thick – this will give you a lovely long plait! Gather the wool together with your hand at one end and cut both ends, giving you a handful of metre long lengths (you may need someone else to cut it whilst you hold it firmly!). Then simply put a knot in it as close to one end as you can manage. It should now look like a cut off ponytail. Either pin or hold you knot away from you whilst you section the pieces of wool into three sections and plait it. Once you get to the end, put a hairband in it as you would a normal plait or braid, leaving 8-10cm loose for the bottom. If you don’t have one, get someone to tie a piece of extra wool around it to secure the plait. Voila – one large plait!
To attach the plait to your witches hat, we were fortunate enough to have a label in the hat which we could feed the plait through and the knot held it in place. If this isn’t an option, just use a couple of safety pins to secure the plait to the hat. If you pin through the knot you’ll find you get better traction. Don’t forget to pin it up inside the cone of the hat so that the pin isn’t resting on your little one’s head. If they try it on and the plait is too long, simply knot it again over the first knot to reduce the length – this will save you starting from scratch with the plait.
The Bow
You will need:
- Yellow felt
- Scissors
- A needle and thread
- A red felt tip
- Cotton wool or wadding/stuffing
- A hairband
Take some yellow felt and draw out a bow shape on one end of it with your felt tip. Fold the felt in half and cut around your shape to give you two 2D bow shapes. Using a needle and thread, sew loosely around the outside of the shapes, attaching them to each other. Make sure you leave a small gap to allow you to stuff it – you’ll need about 1 inch or so. Using wadding or cotton wool, stuff your bow before sewing it shut – extra points if you want to sew around the middle ‘knot’ to give it three separate sections. Whilst you have the felt in hand, you can sew a small strip on to the back to attach your hair band to, thus allowing you to attach it to the plait. Cut a 1cm by 5cm strip, sew one of the narrow ends to the back of the bow, feed the strip through a hairband and then sew the other end of the strip to the other end of the knot in the bow. Hurrah – you’ve made your bow! Take a red felt tip and draw on your red spots directly on to the felt. Then using the hairband, attach the box to the bottom of your plait. Easy peasy!
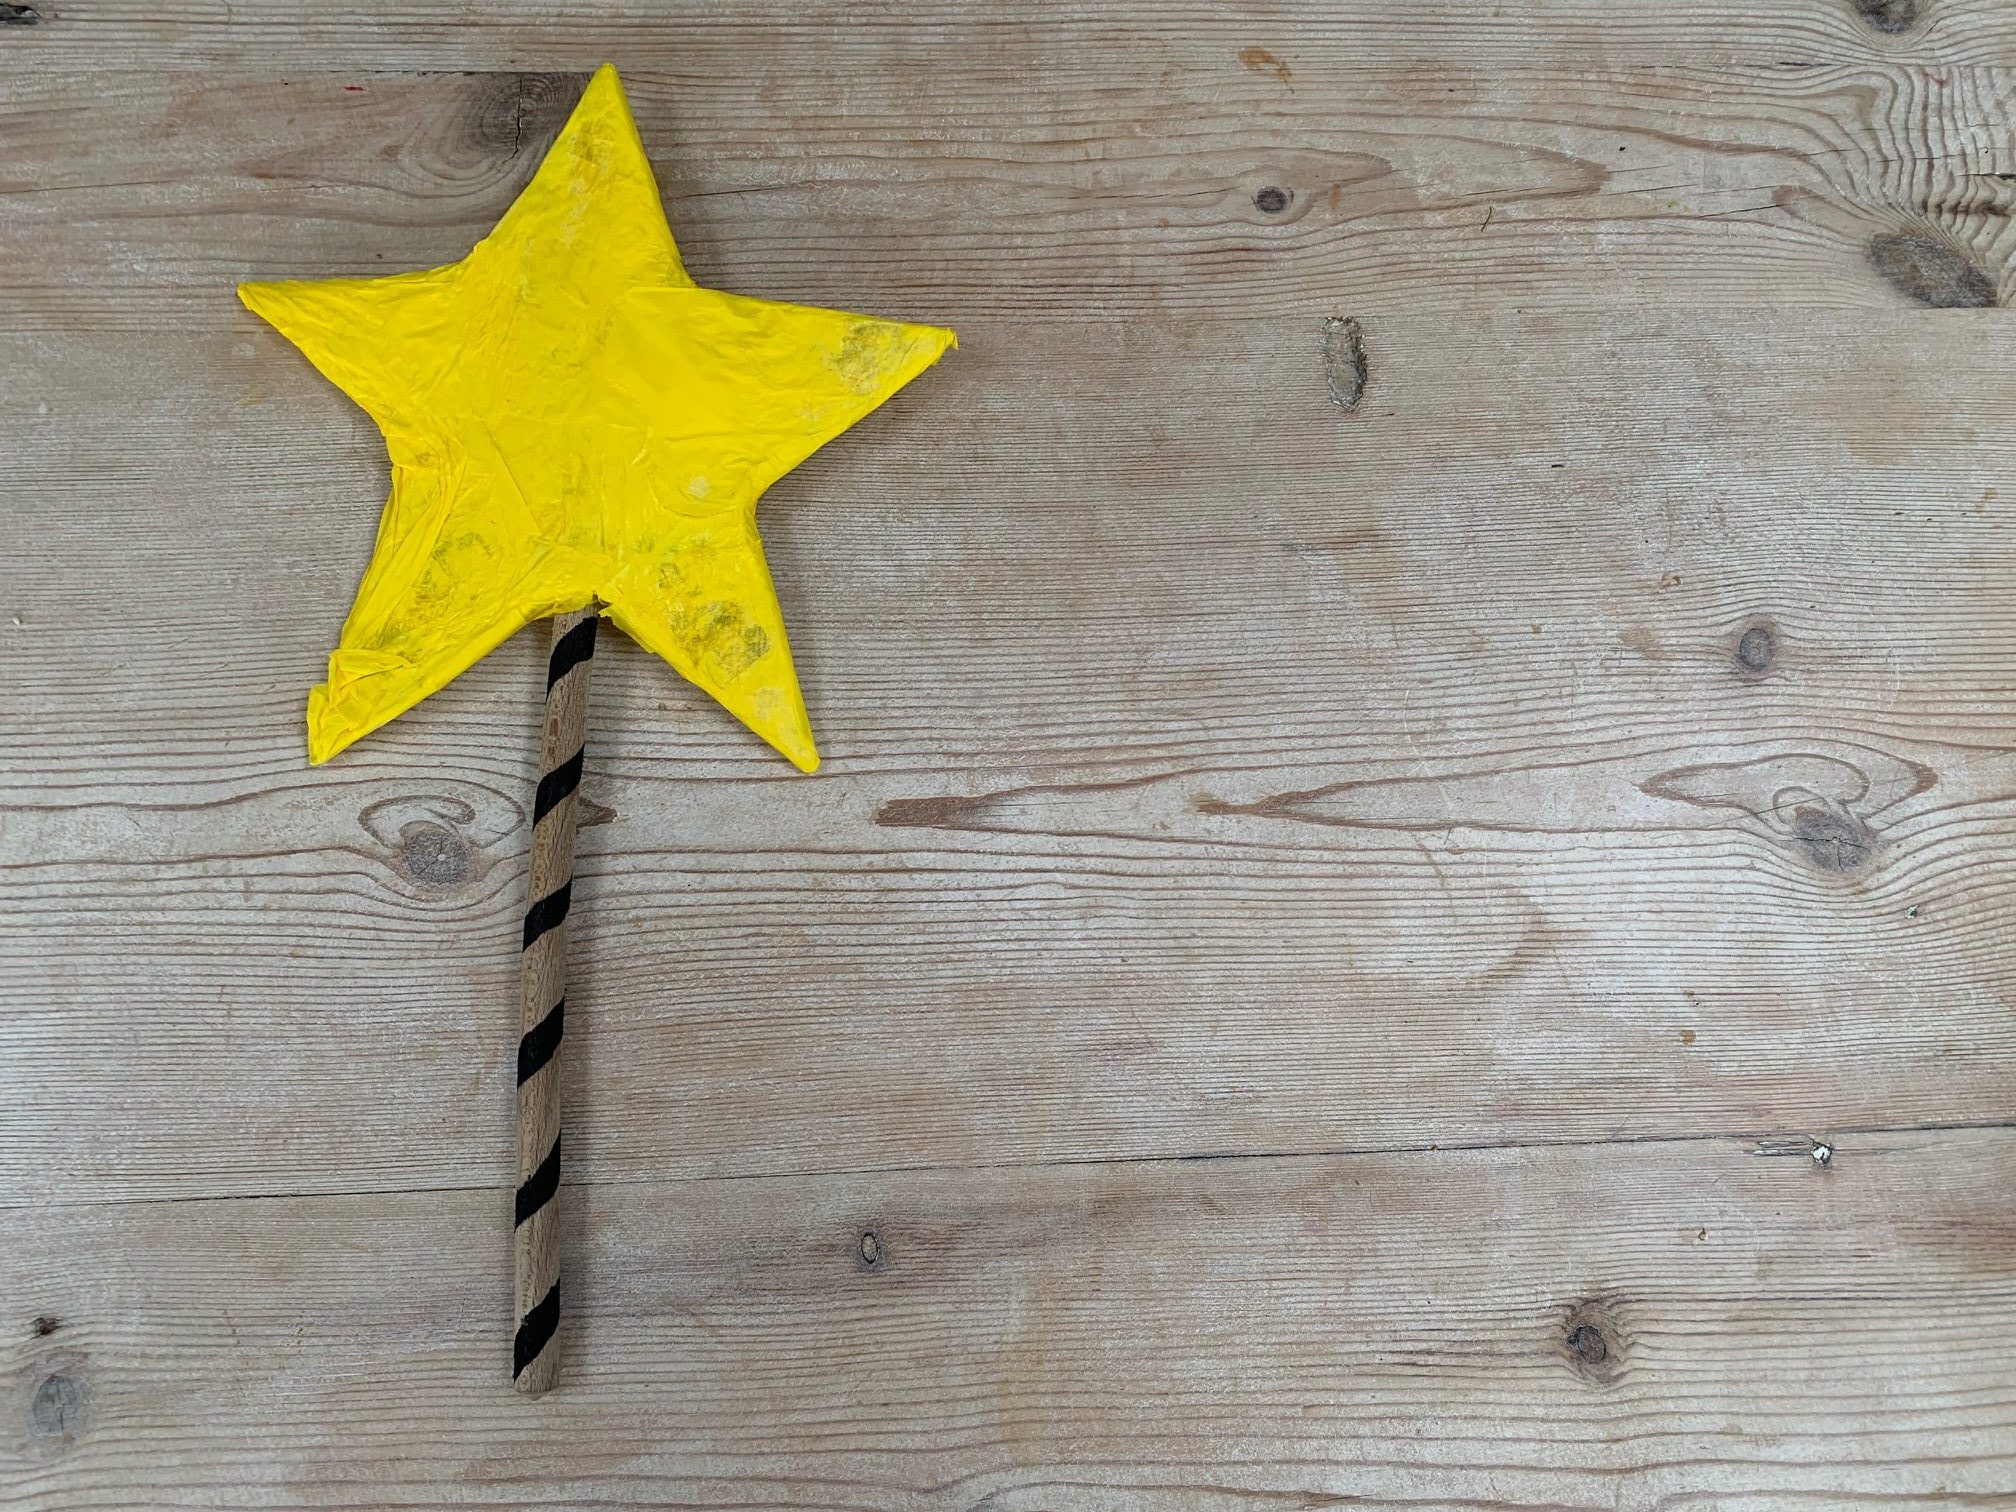
The Wand
You will need:
- A wooden spoon
- Black marker
- Yellow felt (and needle, thread and stuffing) or
- Cardboard, masking tape, PVA and yellow tissue paper
For a simple wand, we commandeered a wooden spoon from the cookery drawer! You can make your wand out of card covered in crepe paper or more felt. We actually made two, my favourite was the card and crepe paper one but when we woke to torrential rain, we quickly decided that wasn’t going to cut it. Either way the process starts in the same way… take your felt or cardboard and lay your wooden spoon on it, with atleast 10cm of the handle on the card or felt. This is because some of the points of your star will go below the main body of the spoon (the middle of your star). Draw your star shape out with the body of the spoon acting as the centre of your star, start by drawing the top point above the body of the spoon and then taking it out sideways on each side – allowing your star to sit on the spoon. Once you’re happy with the shape, cut it out twice to make both sides of your star.
If you’re using felt – sew your star together starting at the bottom where the stick comes out. When you get over halfway, slide the wooden spoon into space and stuff the side that you’ve done with stuffing. Continue to sew the star together with the spoon in place, stuffing as you go until finished. About 1-2cm from the end, make sure you stuff the body of the star and then pull it closed with the final few stitches.
If you’re using cardboard – we held our star together with masking tape closing the gaps between the two pieces of cardboard and encasing the spoon. We then used PVA glue to cover the star and stick on yellow tissue paper before covering it in another layer of glue. This wand is more substantial but definitely takes longer to make!
Once your star is in place and fixed together, take a black marker to draw your spiral down the wand handle and you’re done – well done, that’s the trickiest bit!
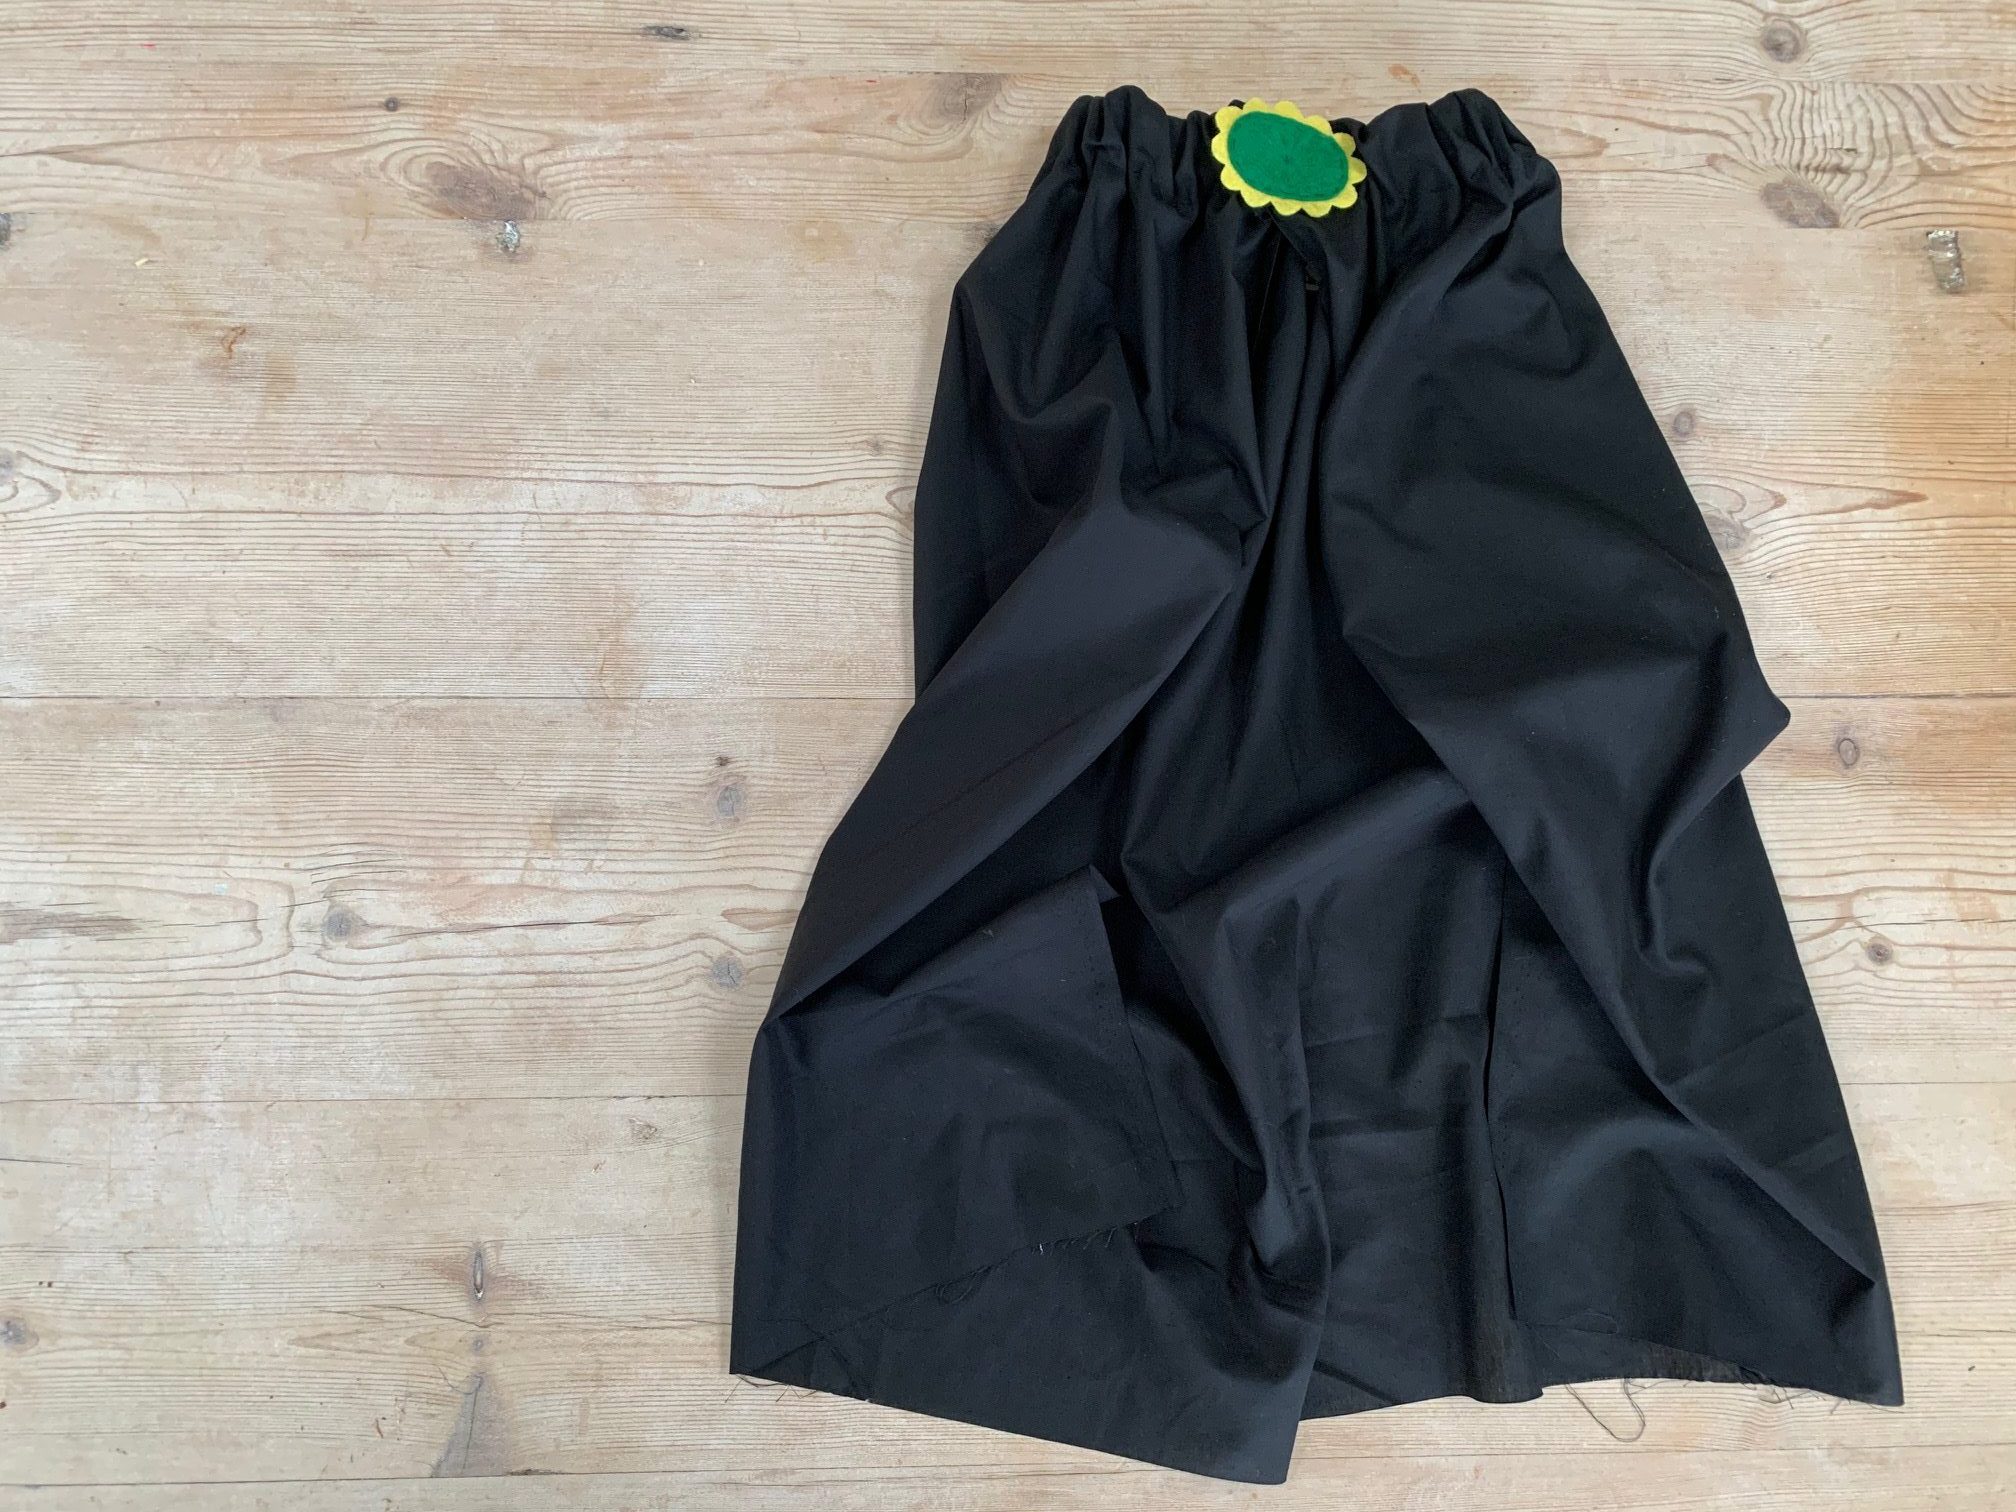
The Cloak
You will need:
- 1m x 1m of black fabric
- Needle and thread
- Thick elastic
- An inch of velcro
- Green felt
- Yellow felt
These instructions are to make the cloak yourself, if you’re short on time, you can just purchase one and add the broach to make it more in-keeping… do whatever suits you and your time restrictions best! To make the cloak, take the black fabric and measure it against you little one. You want a cloak that goes to about their knees from the back of their neck. Mark this, add an inch to it and cut the fabric. Take the cut edge and fold it back over onto itself by about an inch – it needs to be wide enough for you to put your elastic through. Pin this and sew along it to give you an inch wide tunnel at the top of your cloak.
Take the thick elastic and measure it around your little ones neck. You want it to be long enough to sit loosely around their neck without being tight, I measured ours then added a bit to ensure it was roomy enough! Cut this to size. Next, start to feed it through the top of your cloak. Once it’s inside, sew one end to the end of your cloak, making sure it’s nice and secure. Then bunch up the cloak so that the elastic comes through the other end of the tunnel that you made. Sew the elastic in to place at this end. Attach your small piece of velcro to either side of the cloak – one on the inside, one out the outside and hold in place either with a staple of a few stitches. This is your cloak!
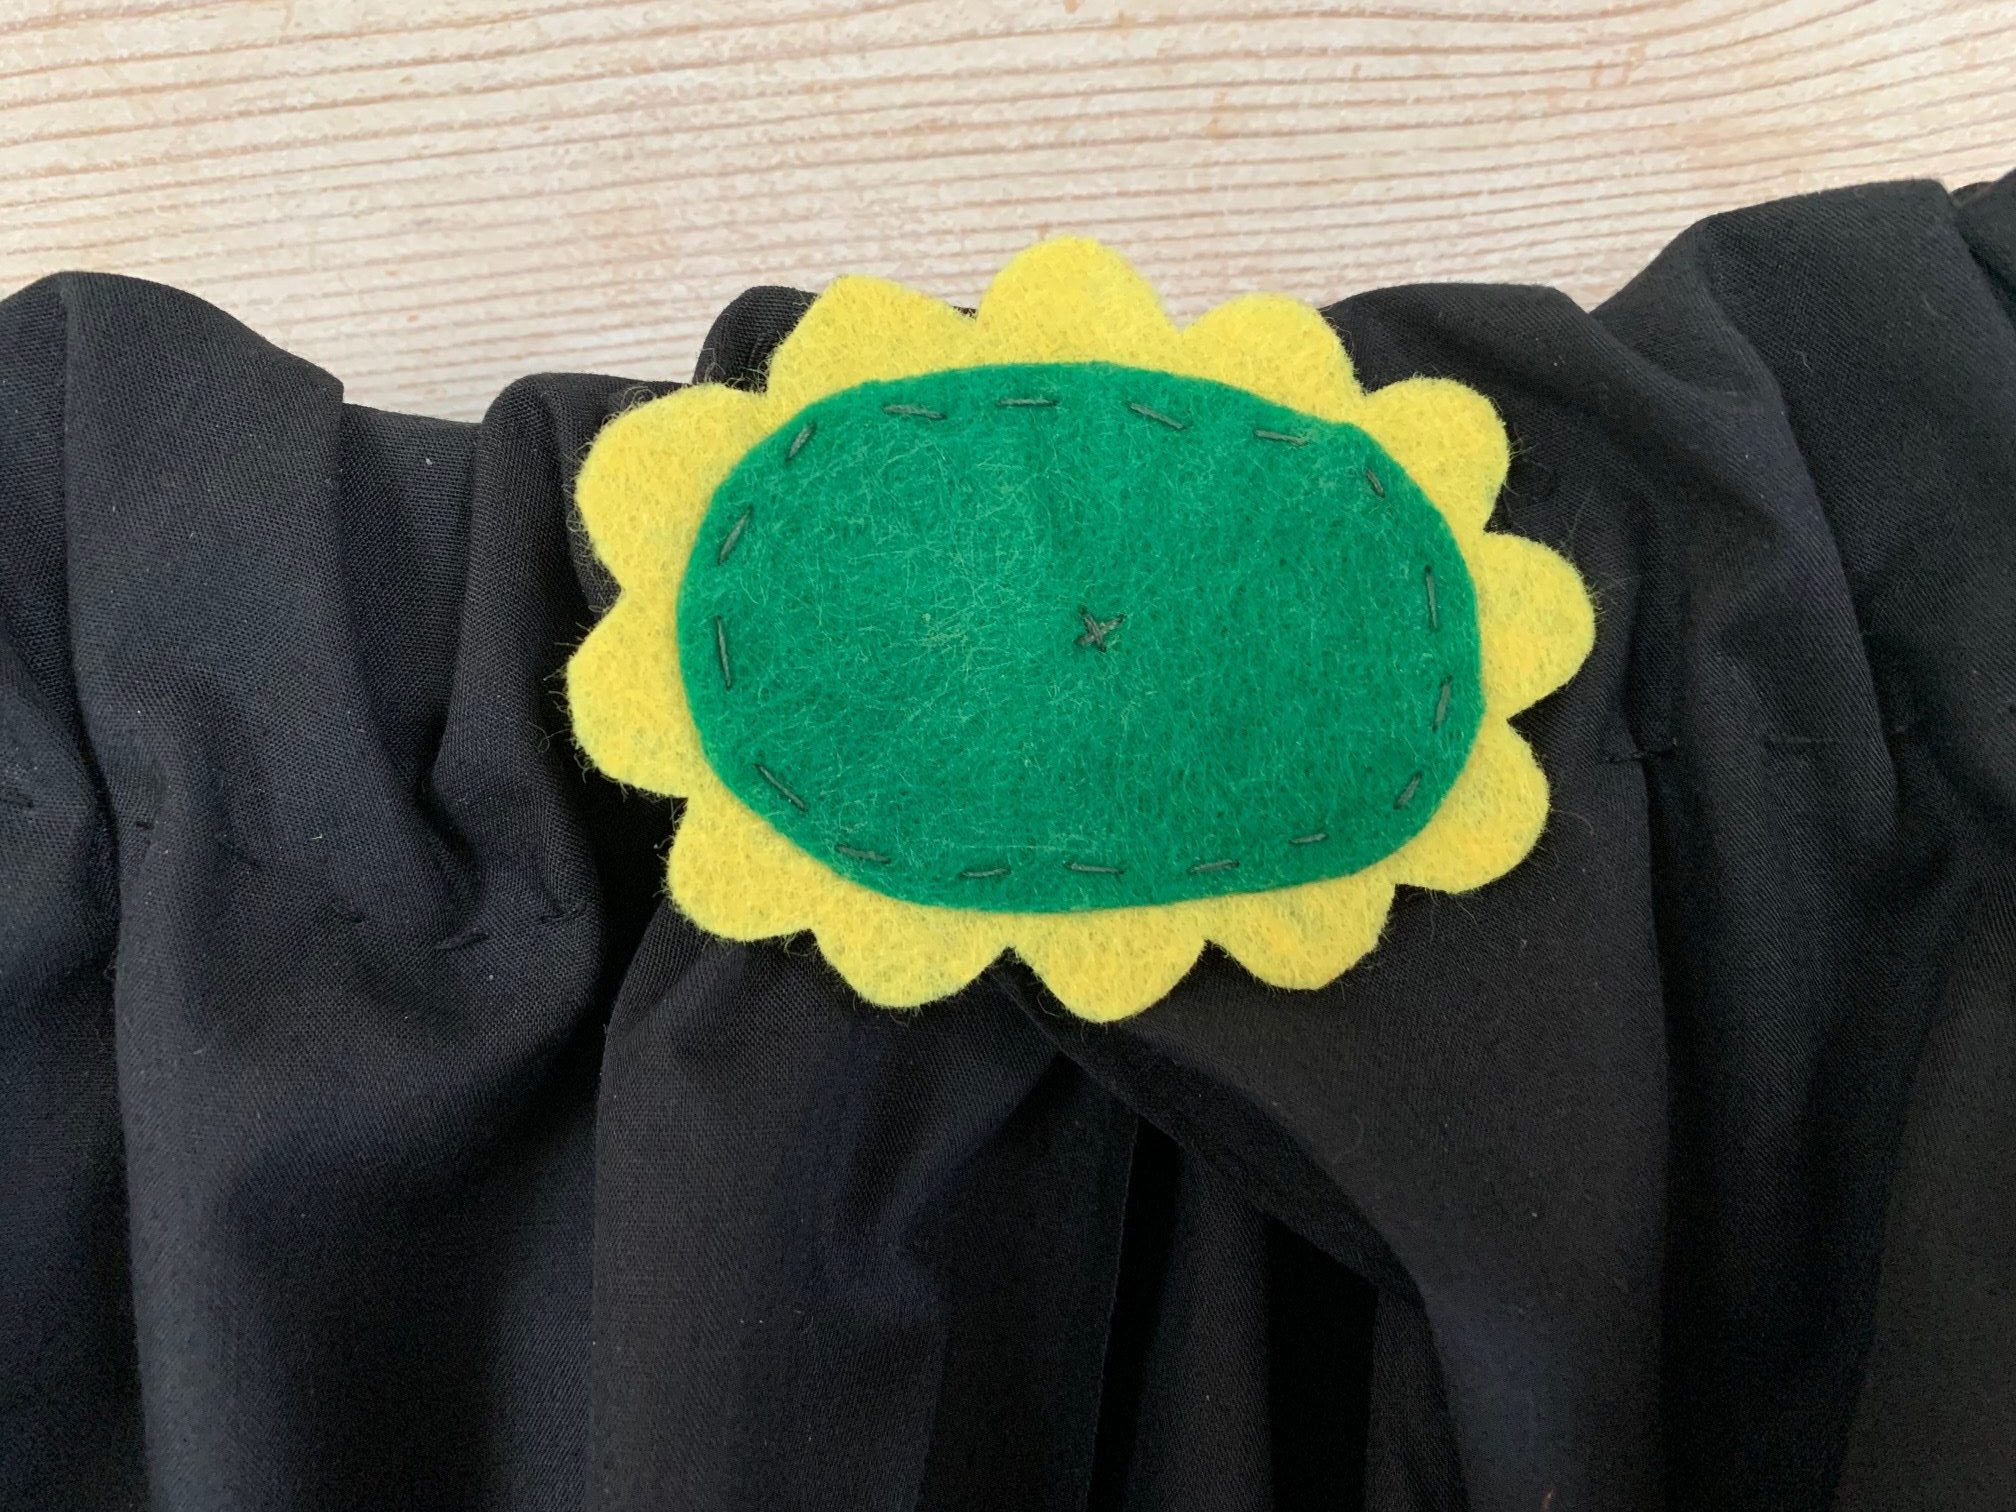
To add the broach, cut out an oval of green felt. Place this on top of the yellowfelt and cut out a larger oval of this, around 1cm bigger on all sides. Shape this to go in and out so that it looks like mini jewels (or hills!). Glue or stitch this together and then attach to the top of the cloak with a couple of small stitches. Job done!
The Accessories
As mentioned, you’ll want to pair your Room On The Broom outfit with a red top and purple trousers or a skirt. To finish the outfit properly you can add a small witches broom, a cauldron and a number of different stuffed animals including a cat, dog, bird and frog. Don’t forget to teach them to do lots of ‘whooshing’ as they run around and enjoy their costume. And there you go – one DIY Room On The Broom costume… cheesy grin optional!


No Comments