
If you’re looking for a simple, (fairly) mess-free craft activity to do with toddlers and preschoolers, then this ‘make a hug’ activity is perfect for you. We’ve seen various versions of it all over Pinterest so thought we would give it a go… if non-crafters like us can manage it, anyone can! It’s a lovely way to spend an hour or so and gives you a lovely momento of how tiny they are at the end. Store it away to sob over when they hit their 18th birthday or send it to a loved one in the post. At the time of writing this, we’re still in a lockdown situation, so we’ll be posting ours off to grandparents to give them the hugs they’re desperately missing!
Make (And Send) A Hug
You will need:
- Long piece of blank paper or several smaller pieces taped together on one side.
- Black marker or pencil
- Decorating materials
- Scissors
**This post contains affiliate links. If you use these links, it doesn’t affect the price that you pay but we may get a small commission off of every purchase.**
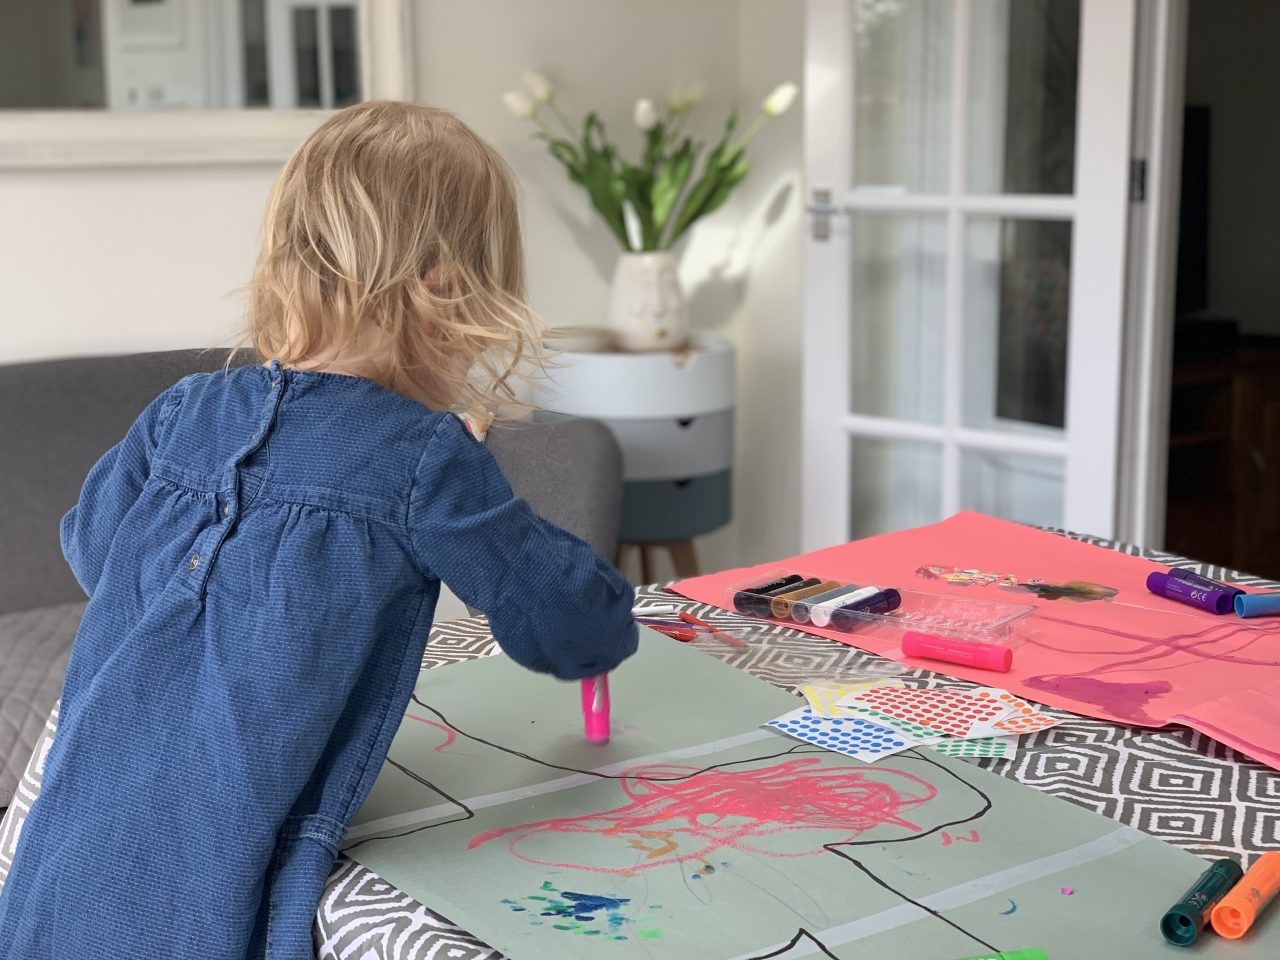
To start, you’ll want a piece of paper that’s big enough to draw around your child’s outstretched arms and their head. If you have a long roll of paper, simply roll it out and get drawing. If not, you’ll need to stick some pieces together like we did. Try to tape it only on one side so that they can freely decorate the other.
Once you have your paper, lie your child down on the floor with their arms outstretched to either side and slide the paper under them. Draw around them – be warned, toddlers are wriggly little things – we had plenty of fun trying to avoid it tickling them! And by fun I mean me trying not to draw all over their heads in permanent marker…
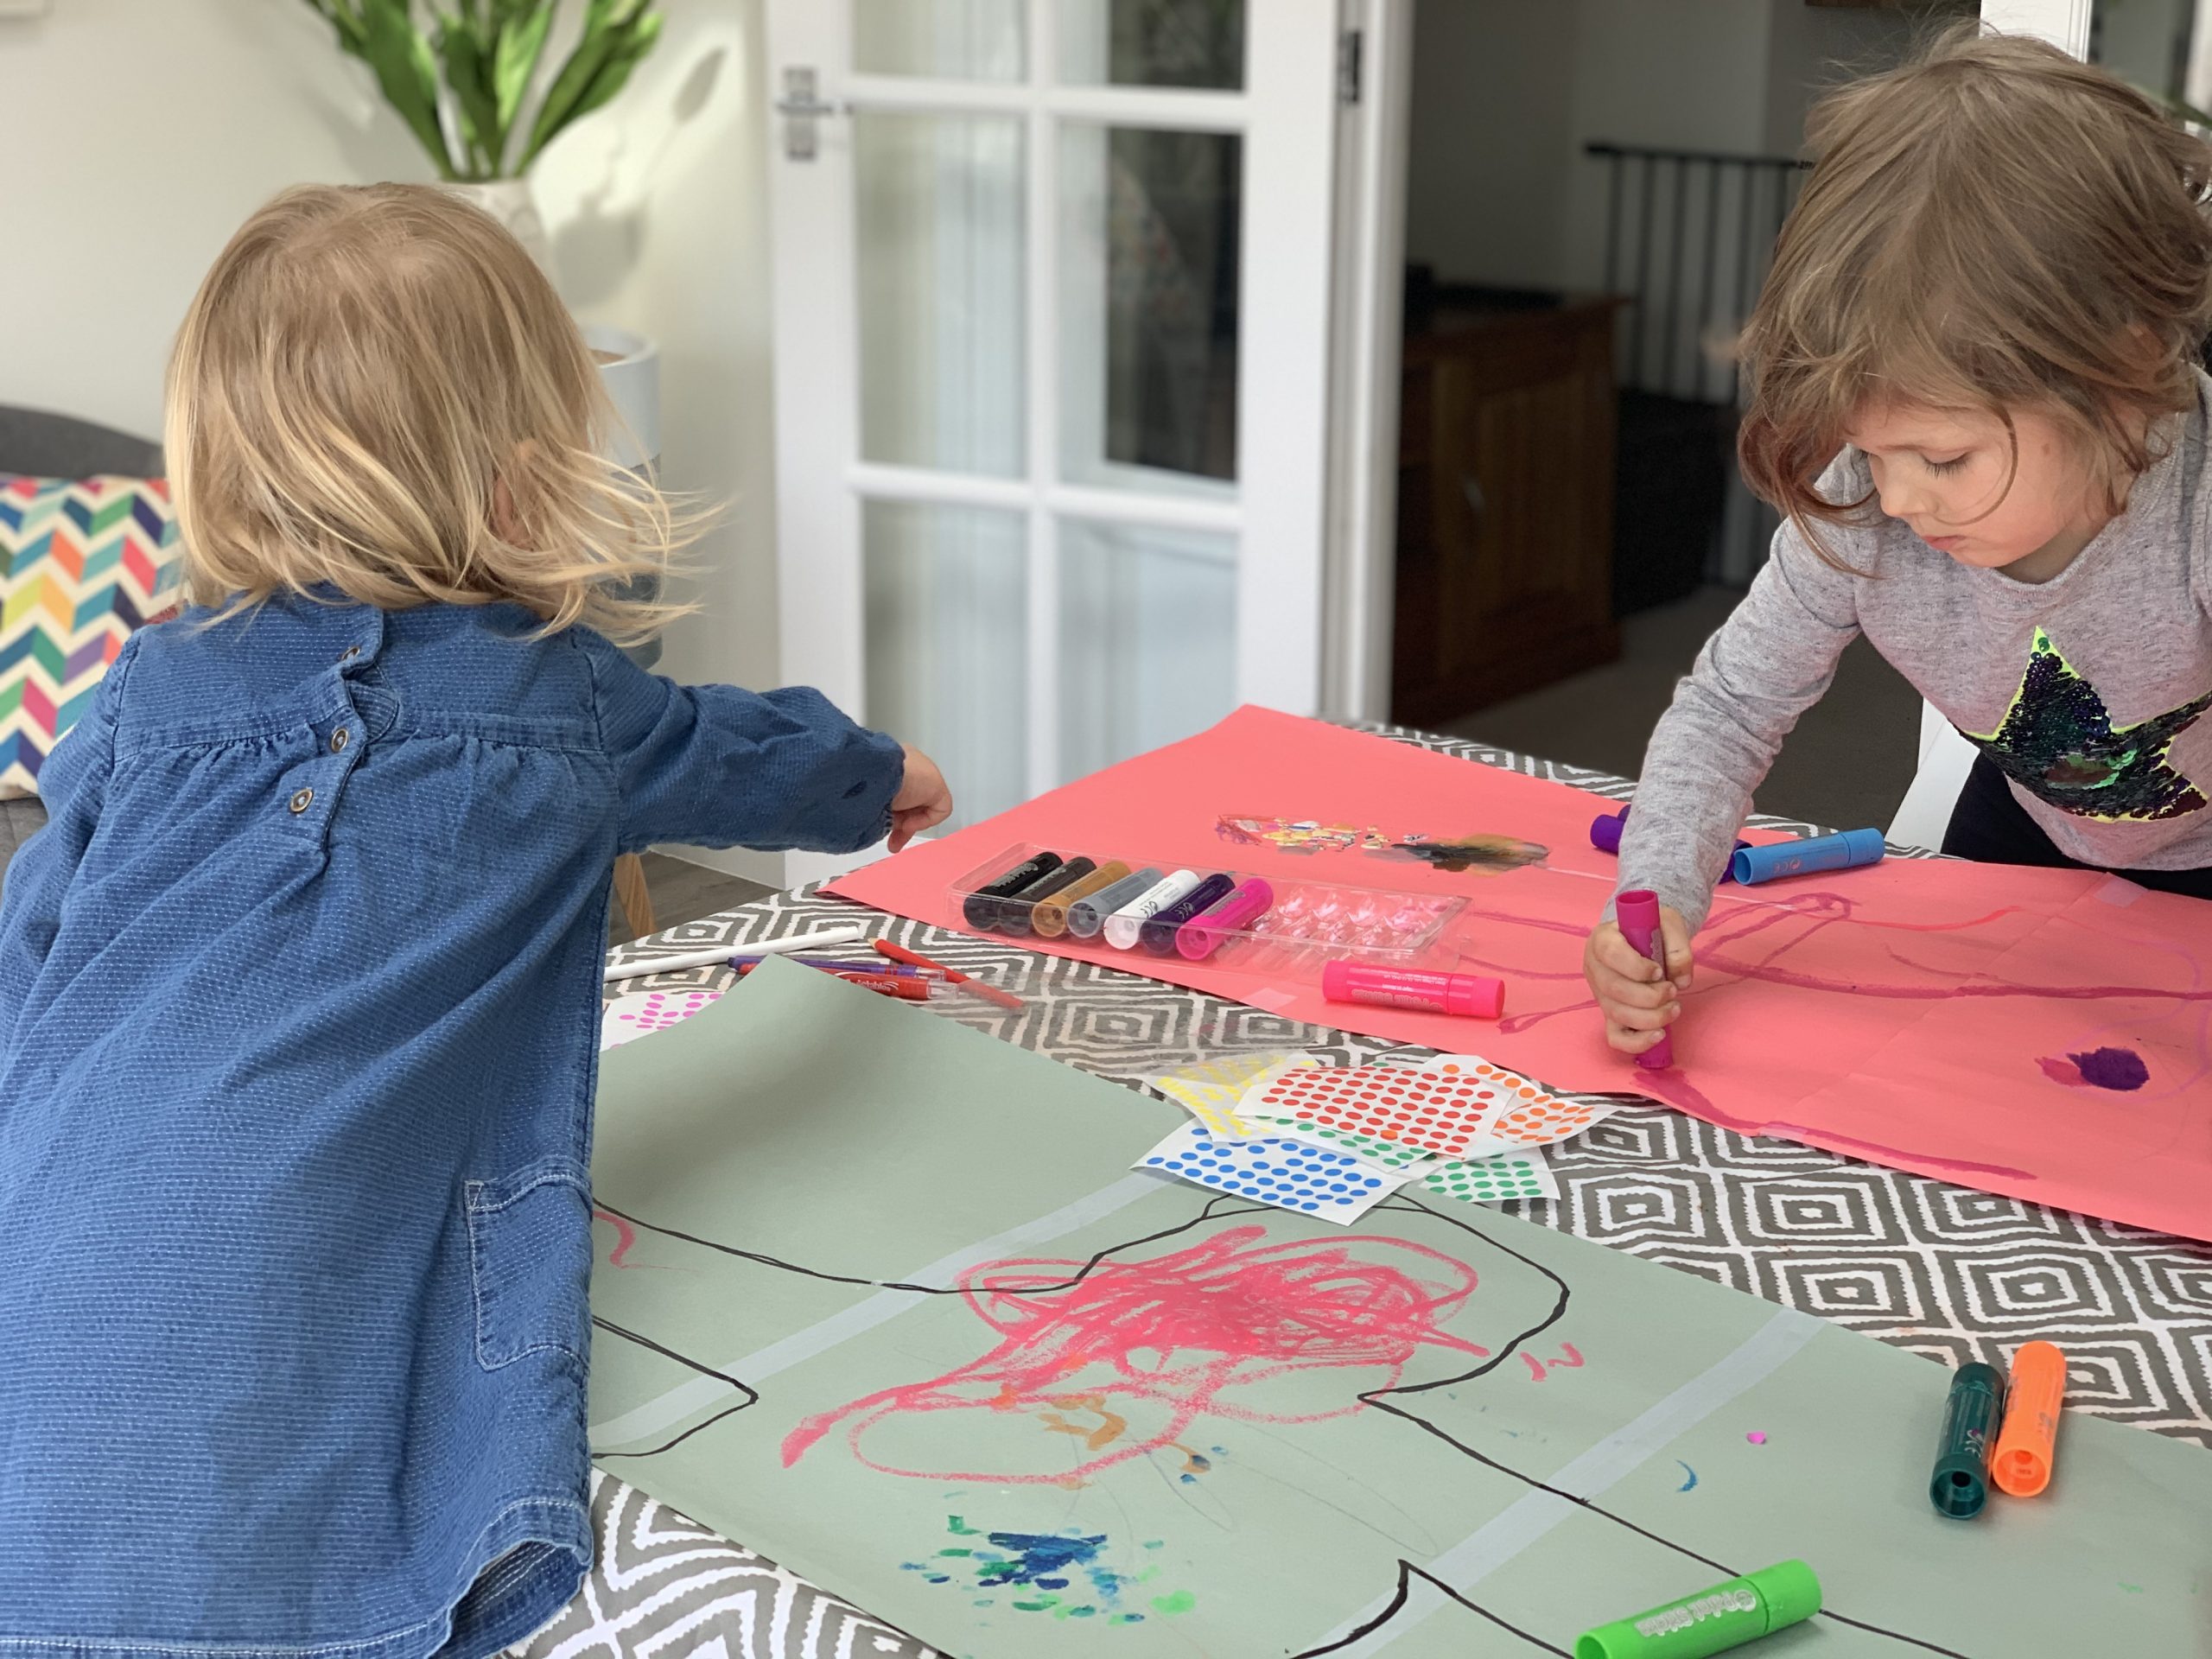
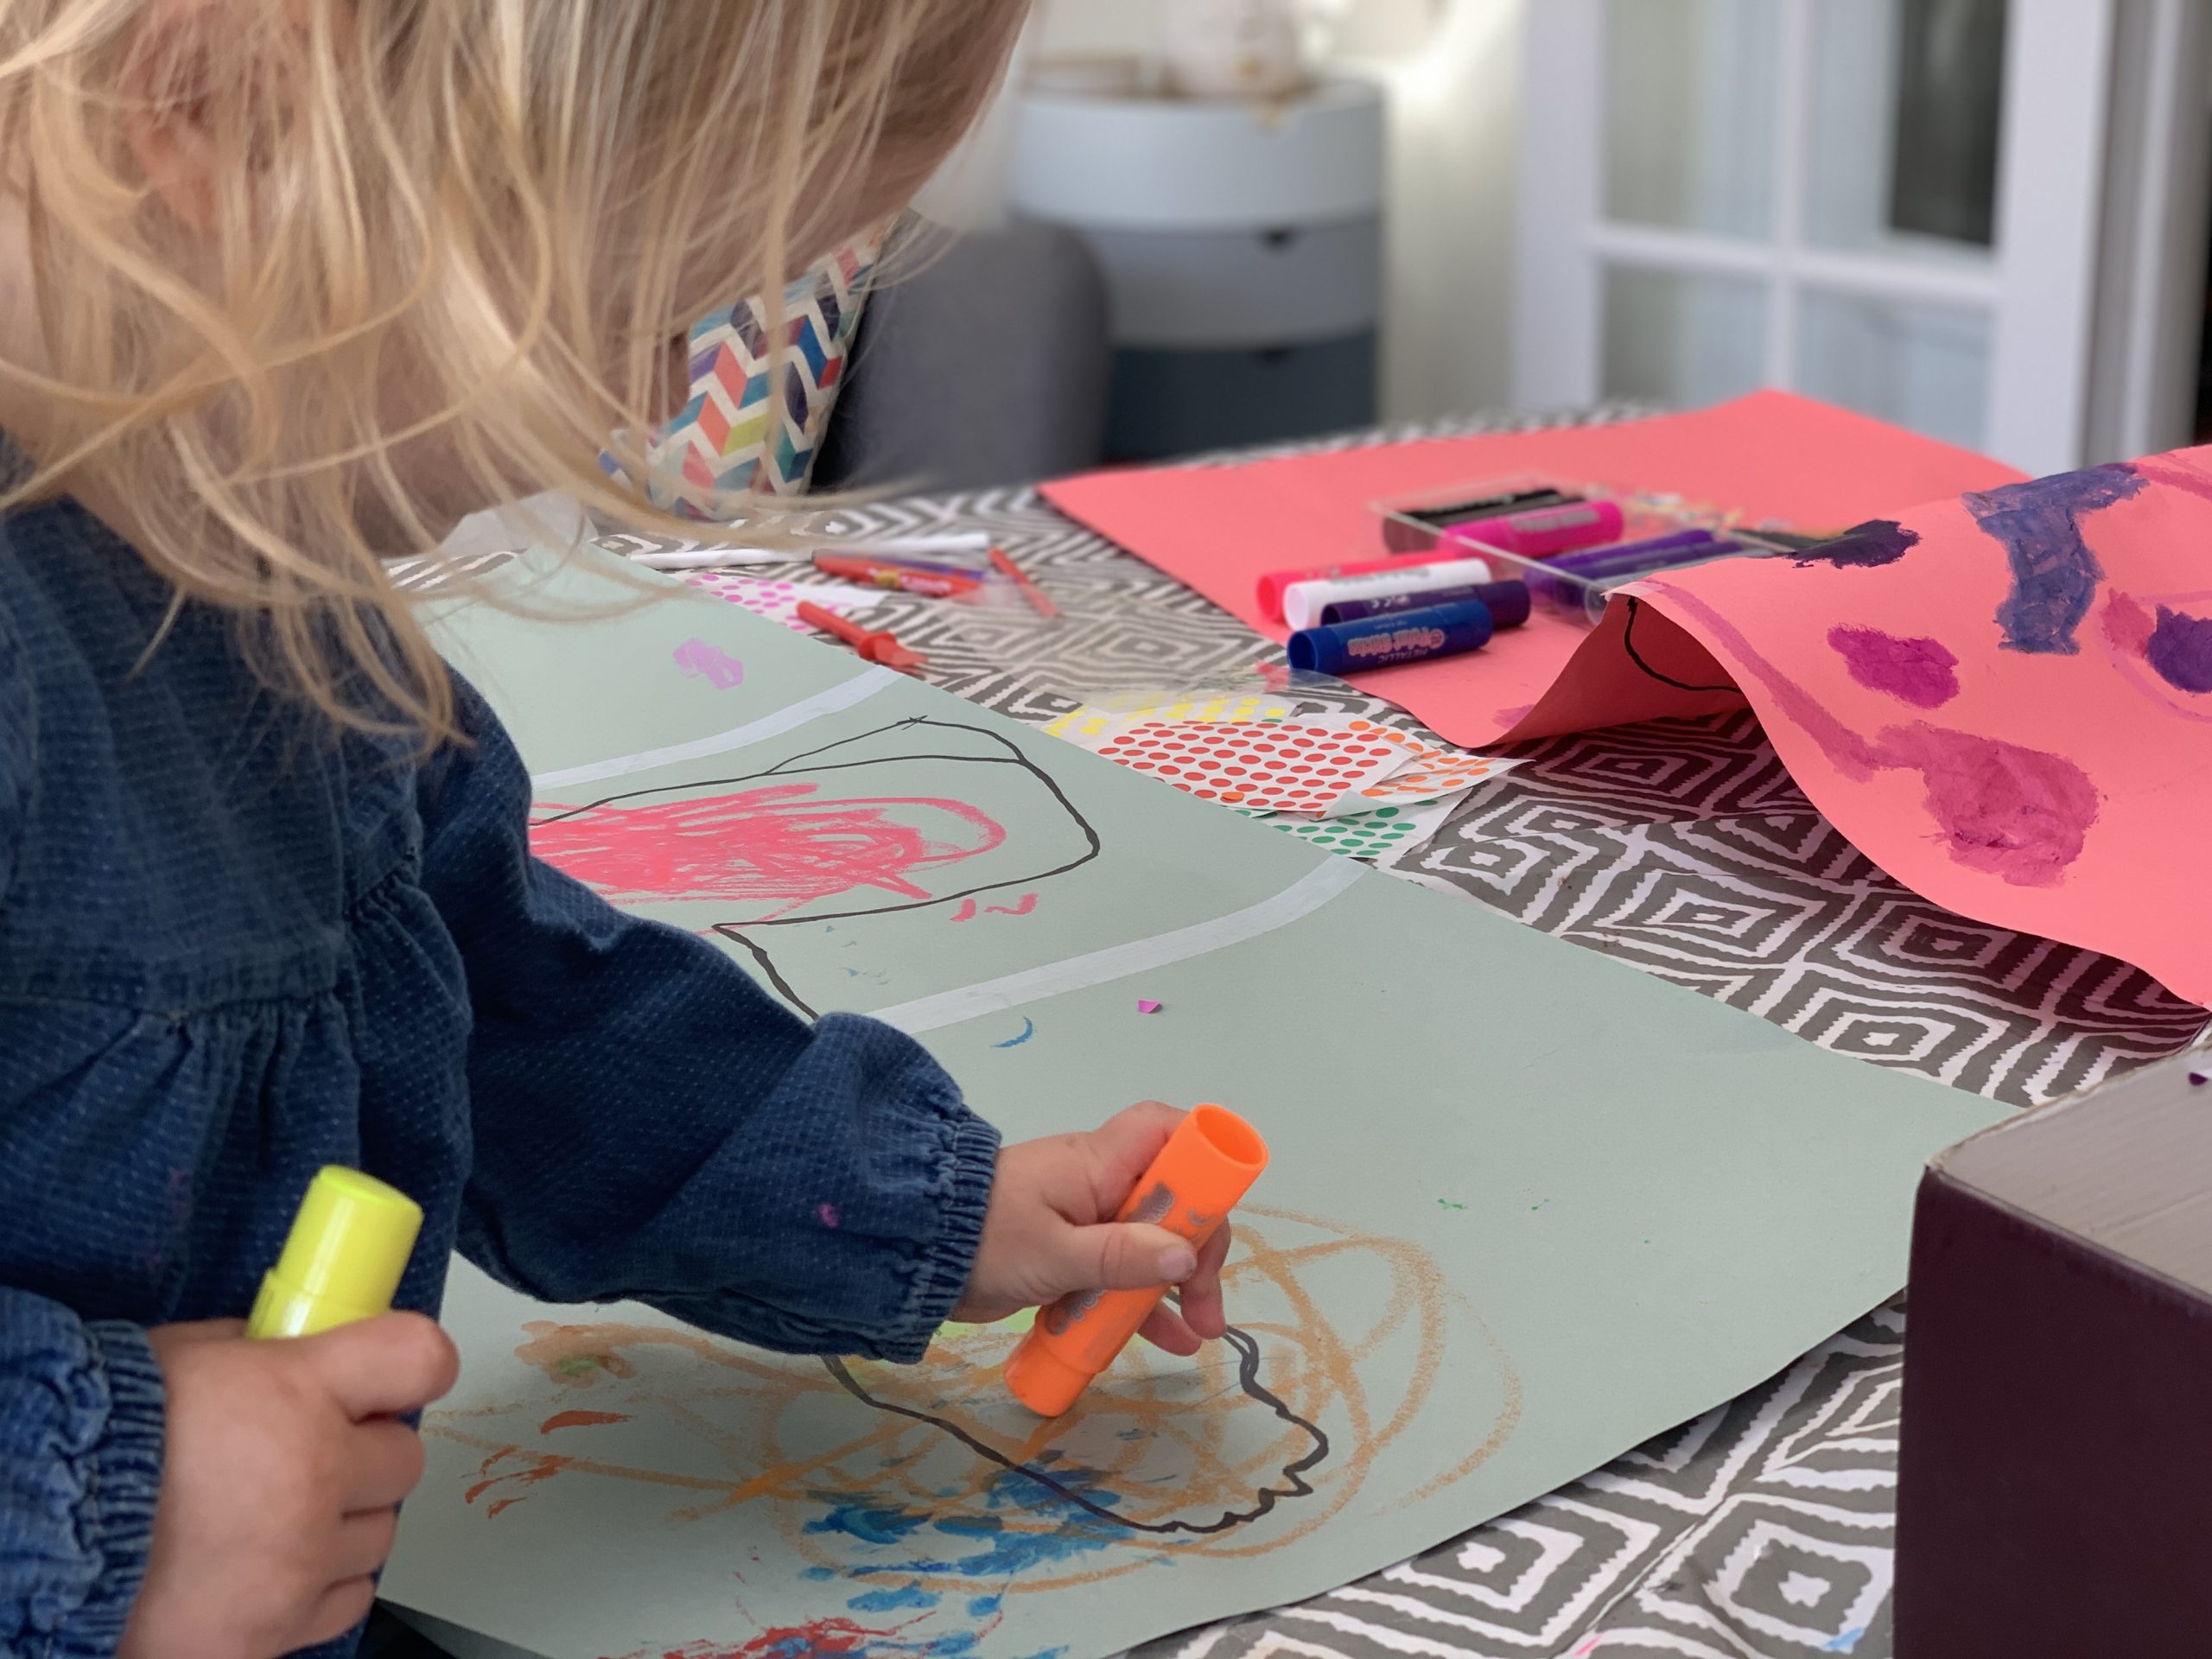
Next is the best part, decorating! Let your child loose with paints, crayons, stickers; whatever they fancy to decorate their person with. Try to get them to stay within the lines of the body otherwise it’ll be lost when you cut it out. We found these paint sticks (which are my favourite craft invention ever!) worked particularly well with both children; so much less stressful than paints and the bold colours make such an impact.
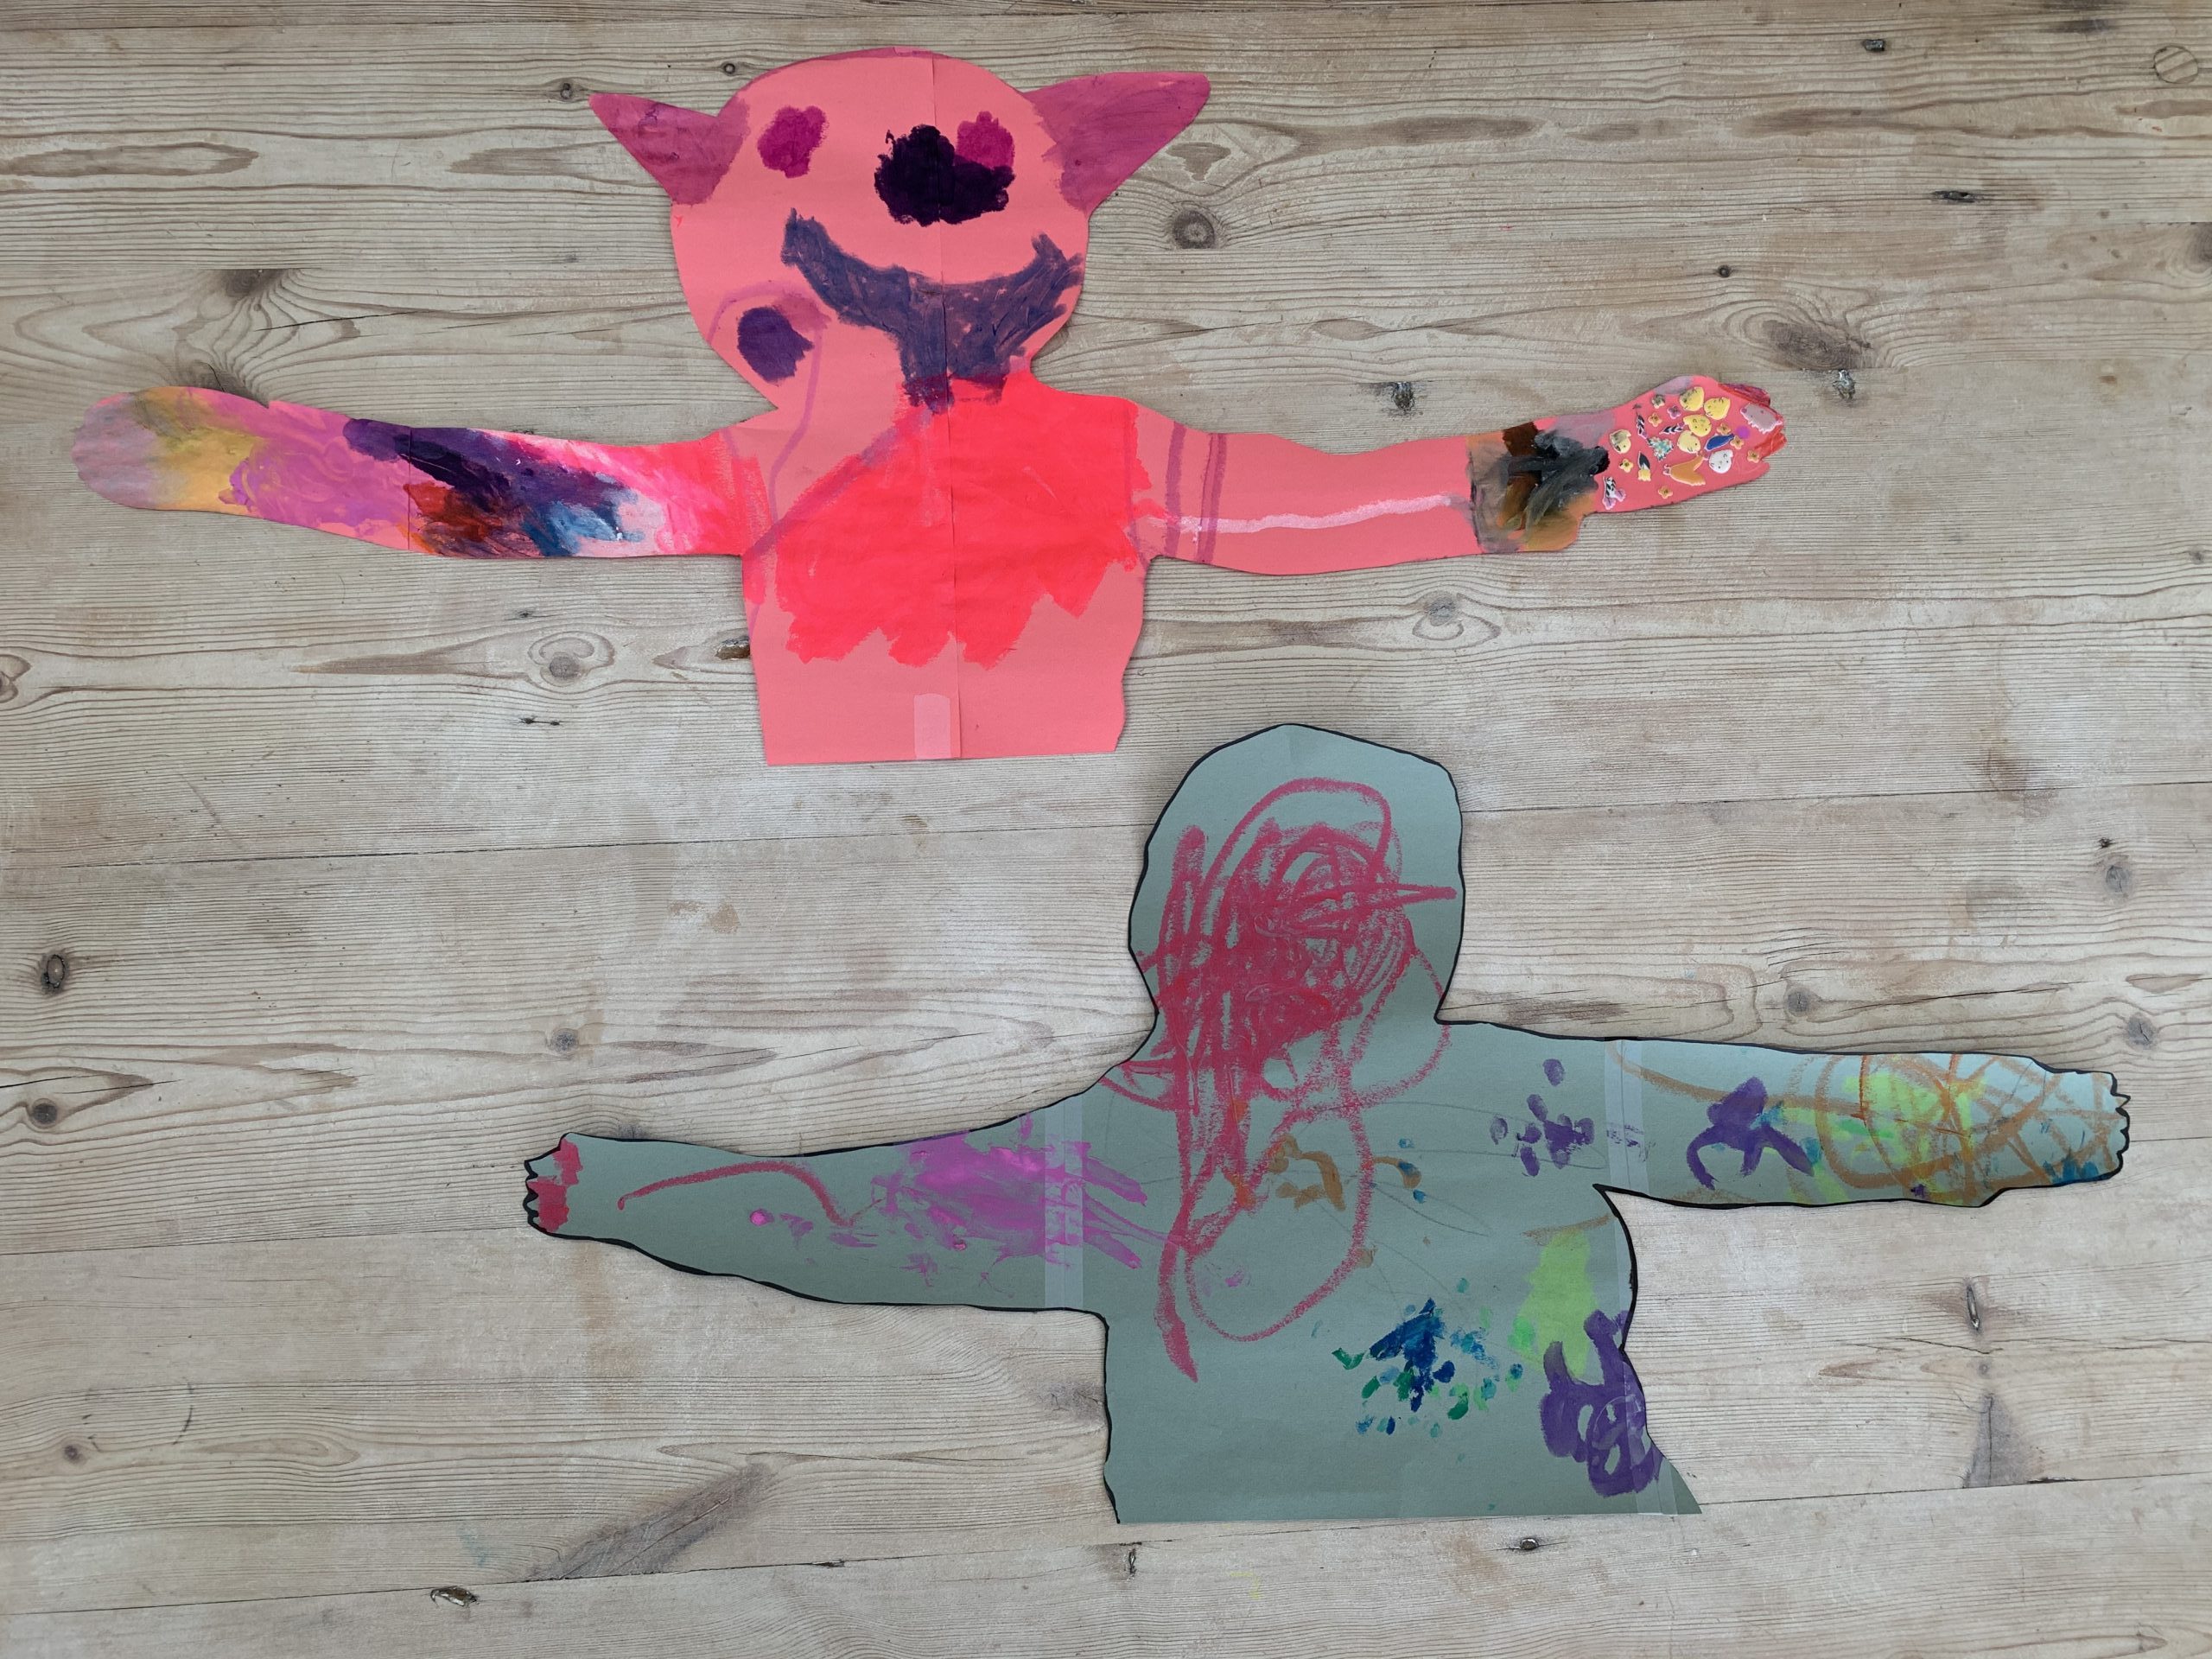
Once they’re happy it’s done, it’s your turn to cut it out for them. Cut around the outline leaving you with a nicely decorated paper version of your child – and yes, our eldest gave himself horns/ears which we decided to keep on for now! Don’t forget to write their name and age on the back. If you’re sending it, you’ll want to add some writing such as ‘A hug from…’ to the front.
To give yourself a hug, simply hold it up and wrap the arms around yourself – job done, you survived crafting!

No Comments