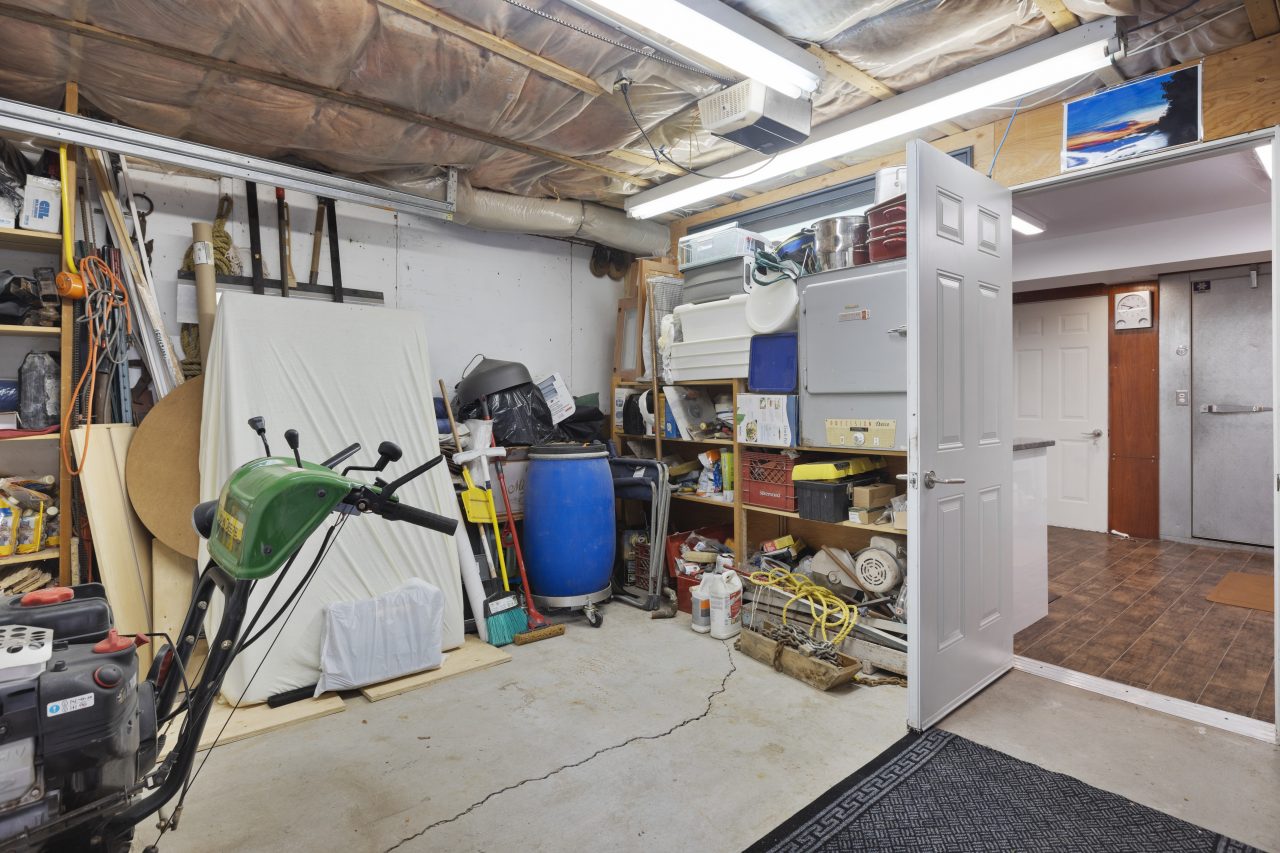
Does your garage resemble a bit of a dumping ground? You’re not alone! So many of us expect our garages to bear the storage brunt of our homes; acting as a store for outdoor toys, gardening equipment, DIY tools and even exercise equipment. And that’s without mentioning the vehicles it was originally designed to hold! With all of those demands, and the fact that it’s not a space you’re likely to have on public display, it’s no surprise that the space can quickly become overrun and unusable. Here we share our top tips on how to clean out the garage, and keep it tidy, giving you back a functional space to be proud of.
1. Prep, prep, prep
Whilst you can clean out a garage bit by bit, we’d recommend tackling it over an intensive period of a couple of days. Find a period of dry weather or set up a dry area where you can temporarily store things outside of the garage without fear of them getting damaged. Make sure you’ve got everything you need, we’ll cover specific supplies like storage supplies and paint later on in more depth but you’ll also want to make sure you’ve got waste disposal at hand – either large bags to collect waste for the tip or hire a skip if you’re planning on getting rid of a lot of items. If you’ve got large items to move, you might want to think about having some pallet trucks on hand to help you with moving anything heavy or difficult to lift around.
You can’t make sense of it until you’ve seen exactly what’s in there, and to do that, you’re going to need to get it all out. Set up your dry space and start moving! Got a partner/friend/child/parent that you can rope in to help? Do it. The more hands on this, the merrier. Whilst it’s tempting to go from one big pile to another, try to work through clearing spaces systematically. That way, if you do have to stop, you’ll have a clear area to put your sorted belongings back in to.

2. Sort As You Go
As you bring your items out, sort them into different piles. Try a three section system; one for items to go in the bin, one for items to be sold/given away, one for items to keep. Don’t forget to be ruthless, if you haven’t used an item in the last year ask yourself if you really need it. Is it seasonal? Is it missing parts? Is it more of a ‘just in case’ keep? Ask yourself all of these questions when you assess each item, this is a chance to declutter your home so make the most of it.
For The Bin
If you’ve got a skip then this part’s easy, chuck it all in! If you’re hoping to put items in your own bin or take it to the tip then you’ll want to do a bit more sorting as you go. Separate out recyclables from general waste, remembering that everything from small electricals to scrap metal can be recycled. If you’ve got larger items, many waste services offer a large recyclable collection service, or try a local scrap metal merchant as these will often collect. Otherwise, you may need to consider professional disposal companies… although firstly, we’d recommend trying to give it away for free on sites such as Facebook Marketplace – you’d be amazed what other people can make use of!
To Sell/Give Away
If it’s still got life in it but you no longer need it, you’ll want to put it in your sell/give away section. At this point, decide whether it’s worth trying to get a little money for, or it’s easier to give away. List your items online as you go, taking photos as you clear it out, this way it’s less likely to sit around for weeks waiting for you to find the time! Be realistic with selling products, try looking online to see what others are selling them for and price accordingly. Unsure? List it for free – things like half used pots of paint are often used by others for odd jobs, even old paving slabs are useful to some!
To Keep
You’ll want to try and give yourself a bit of order as you go, just to make it easier for the big put-back. Start sorting it into different sections depending on what it’s used for; gardening, DIY, kids toys, fitness items etc. This way you’ll be able to see exactly what you’ve got of what, and work out if you have any duplicates.

3. Clean Your Space
It might seem like a no brainer but whilst your garage is empty, it’s a great opportunity to give it a deep clean. That way when everything goes back in, it’s going to make it simpler for you to keep it that way. If you’ve got a concrete floor, you may also wish to consider painting it with a floor paint – not only will it make your garage feel more like a useful room, it’s easy to keep clean than bare concrete and it can add some water protection (bare concrete is a porous material so will soak up water if uncoated). If you’re concerned about having things out of your garage for too long, you can always do this in two halves rather than paint the whole space at once.
4. Put It Back
It’s time to put your items back in. A well thought out garage is going to make your life a lot easier, so take a look at your ‘keep’ pile and try to understand what items you have that are going to take up the most space. We recommend using good quality shelving to add to your storage space – we use metal racking style shelving which allows you flexibility with shelf height, which is great for the awkward sized items we all keep in our garages!
Now you want to start thinking about how best to store or set-up those ‘zones’. For example, tools and paint are going to be best stored on shelving; they’re small items that aren’t particularly heavy and will benefit from being up off of the floor. Fitness products are likely to need a little extra space around them for you to use them. This stage is an excellent chance to have a second sort out as well – when you put things back, try to think about why you’ve kept it. It’s easier at this stage because it’s a little less overwhelming, plus you’re on a roll!
5. Add The Extras
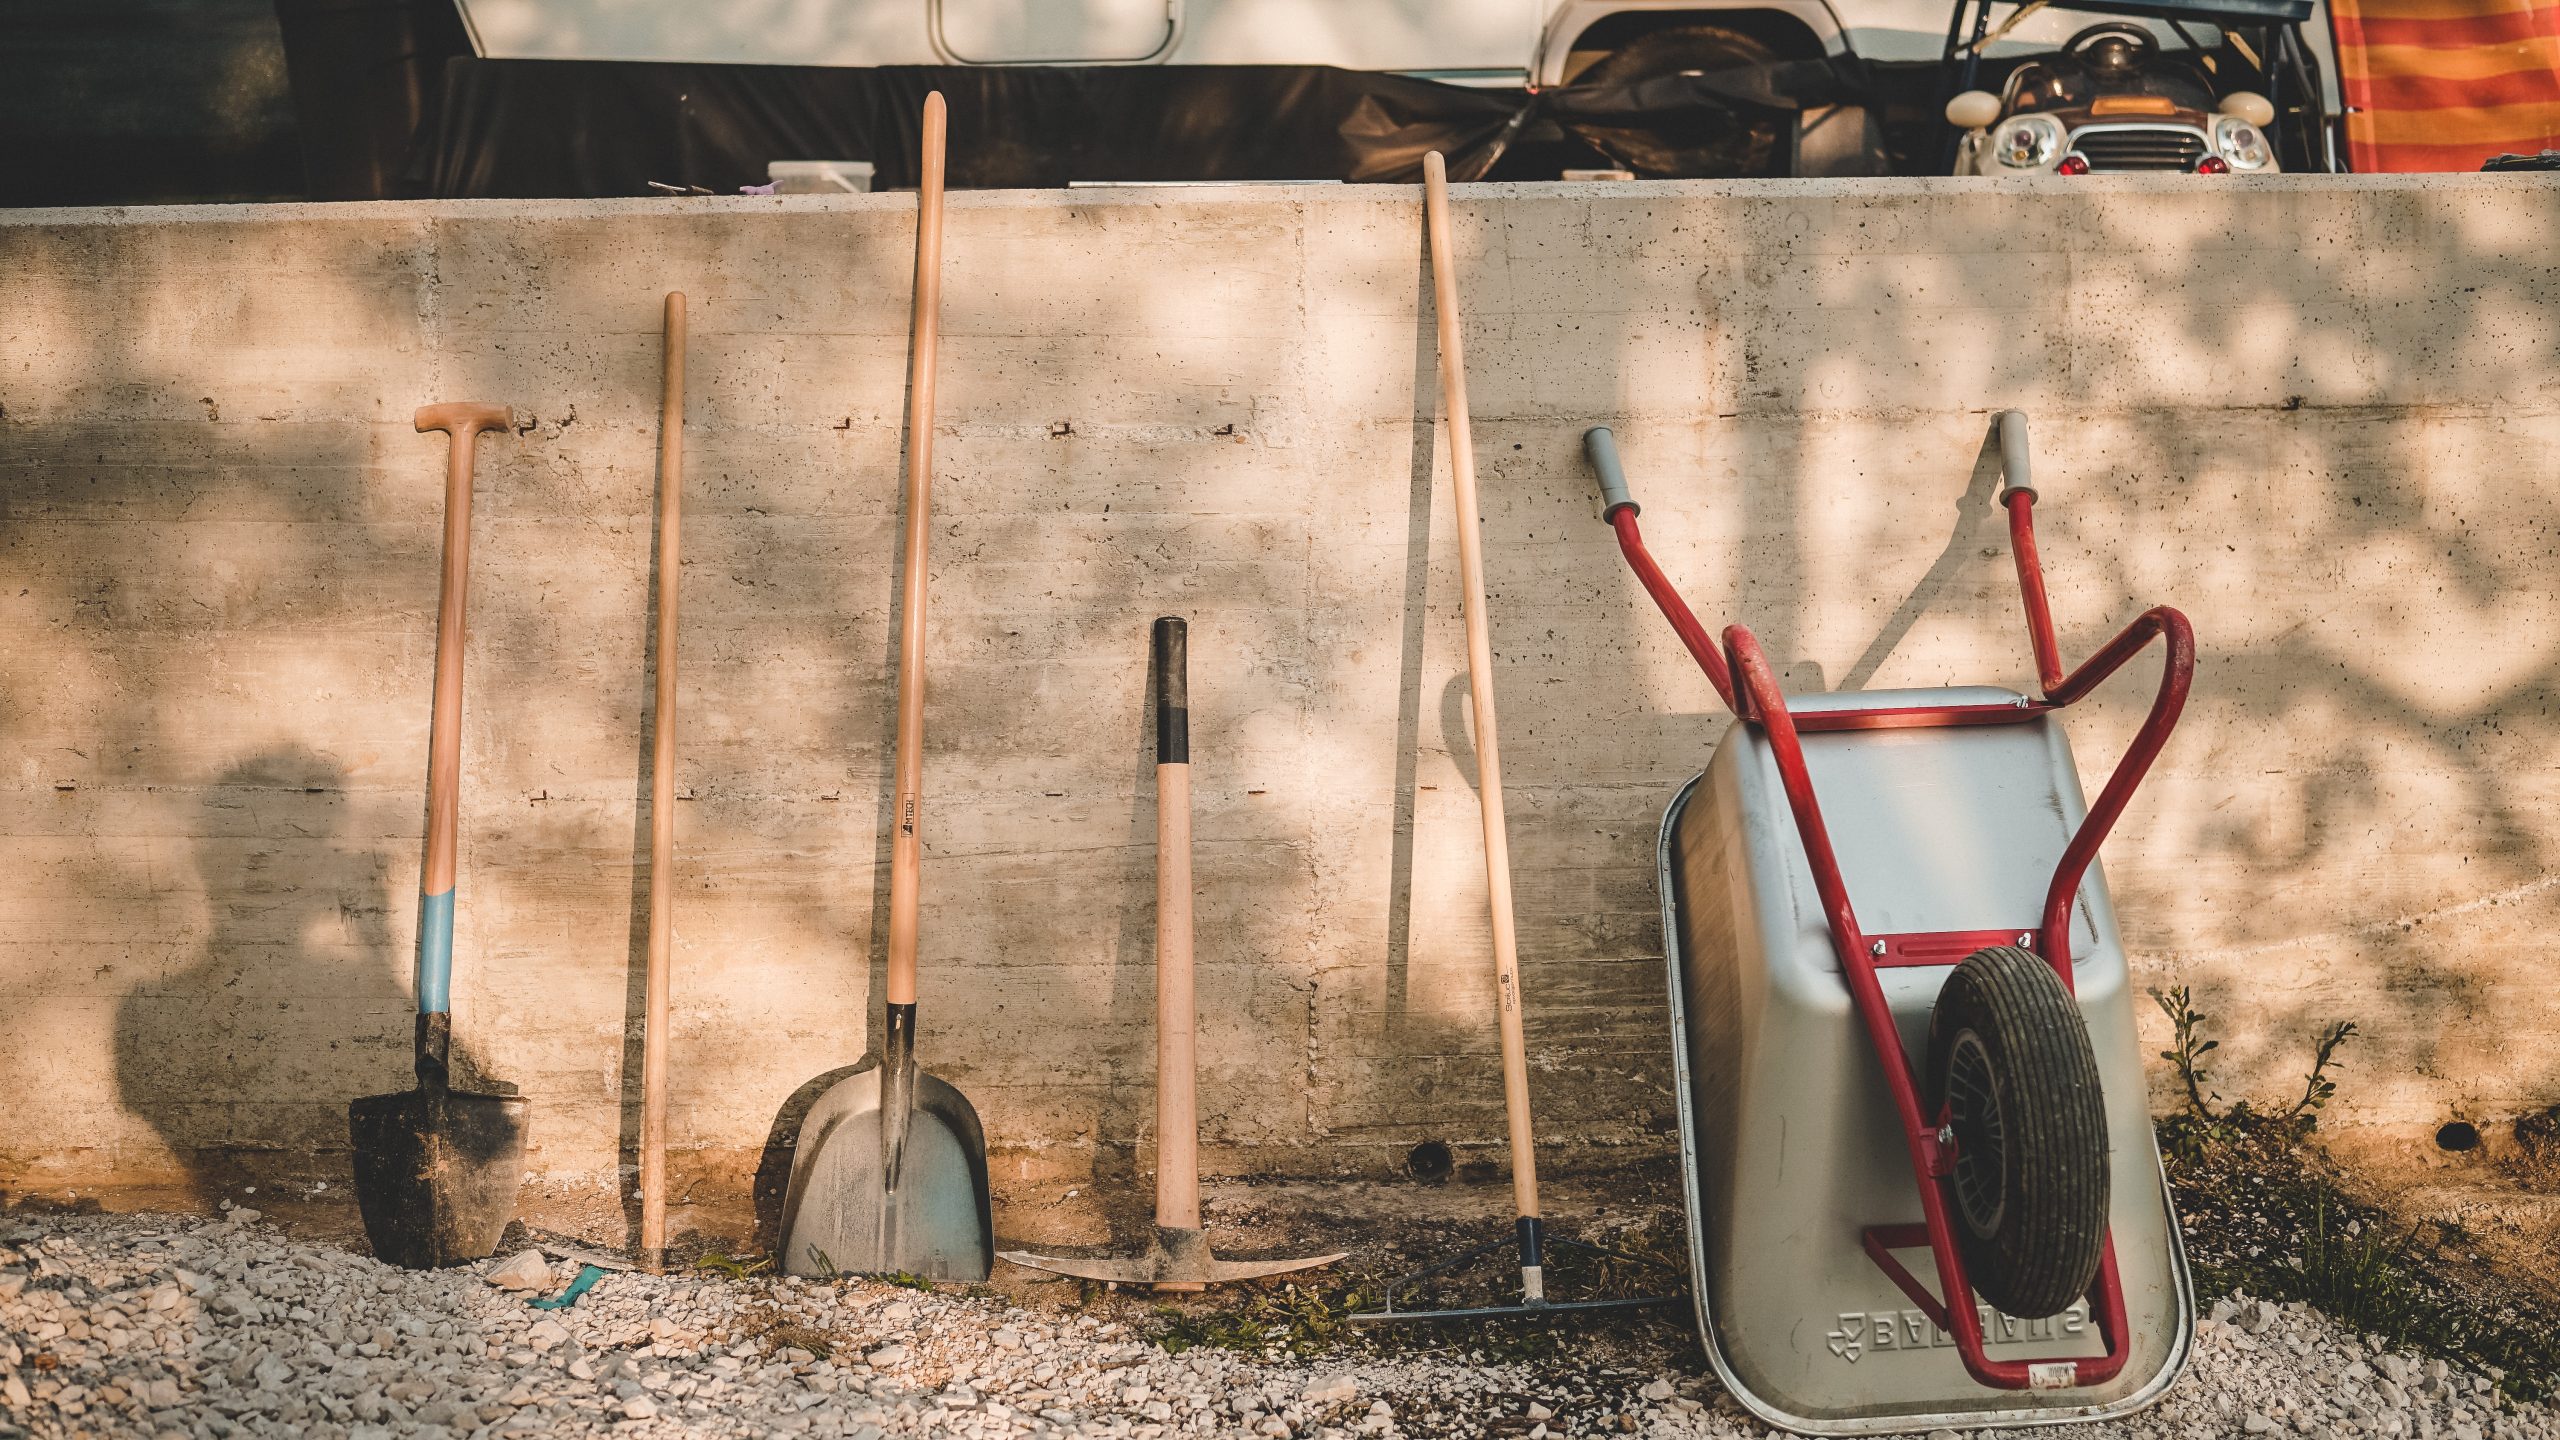
If you really want to organise your garage, this is going to be the most important step; it’s where you add in the storage extras. For example, do you have gardening tools such as spades, forks and rakes? A simple row of tool hooks on the wall will keep them neat and tidy as well as easy to find (we’d recommend putting the hooks onto a piece of wood first and then attaching the wood to the wall). Apply the same principle to coats and bags – a neat set of heavy duty hooks by the door is perfect for storing outdoor items that you don’t wear every day, or for hanging up things like the peg basket. Even ladders are best wall mounted.
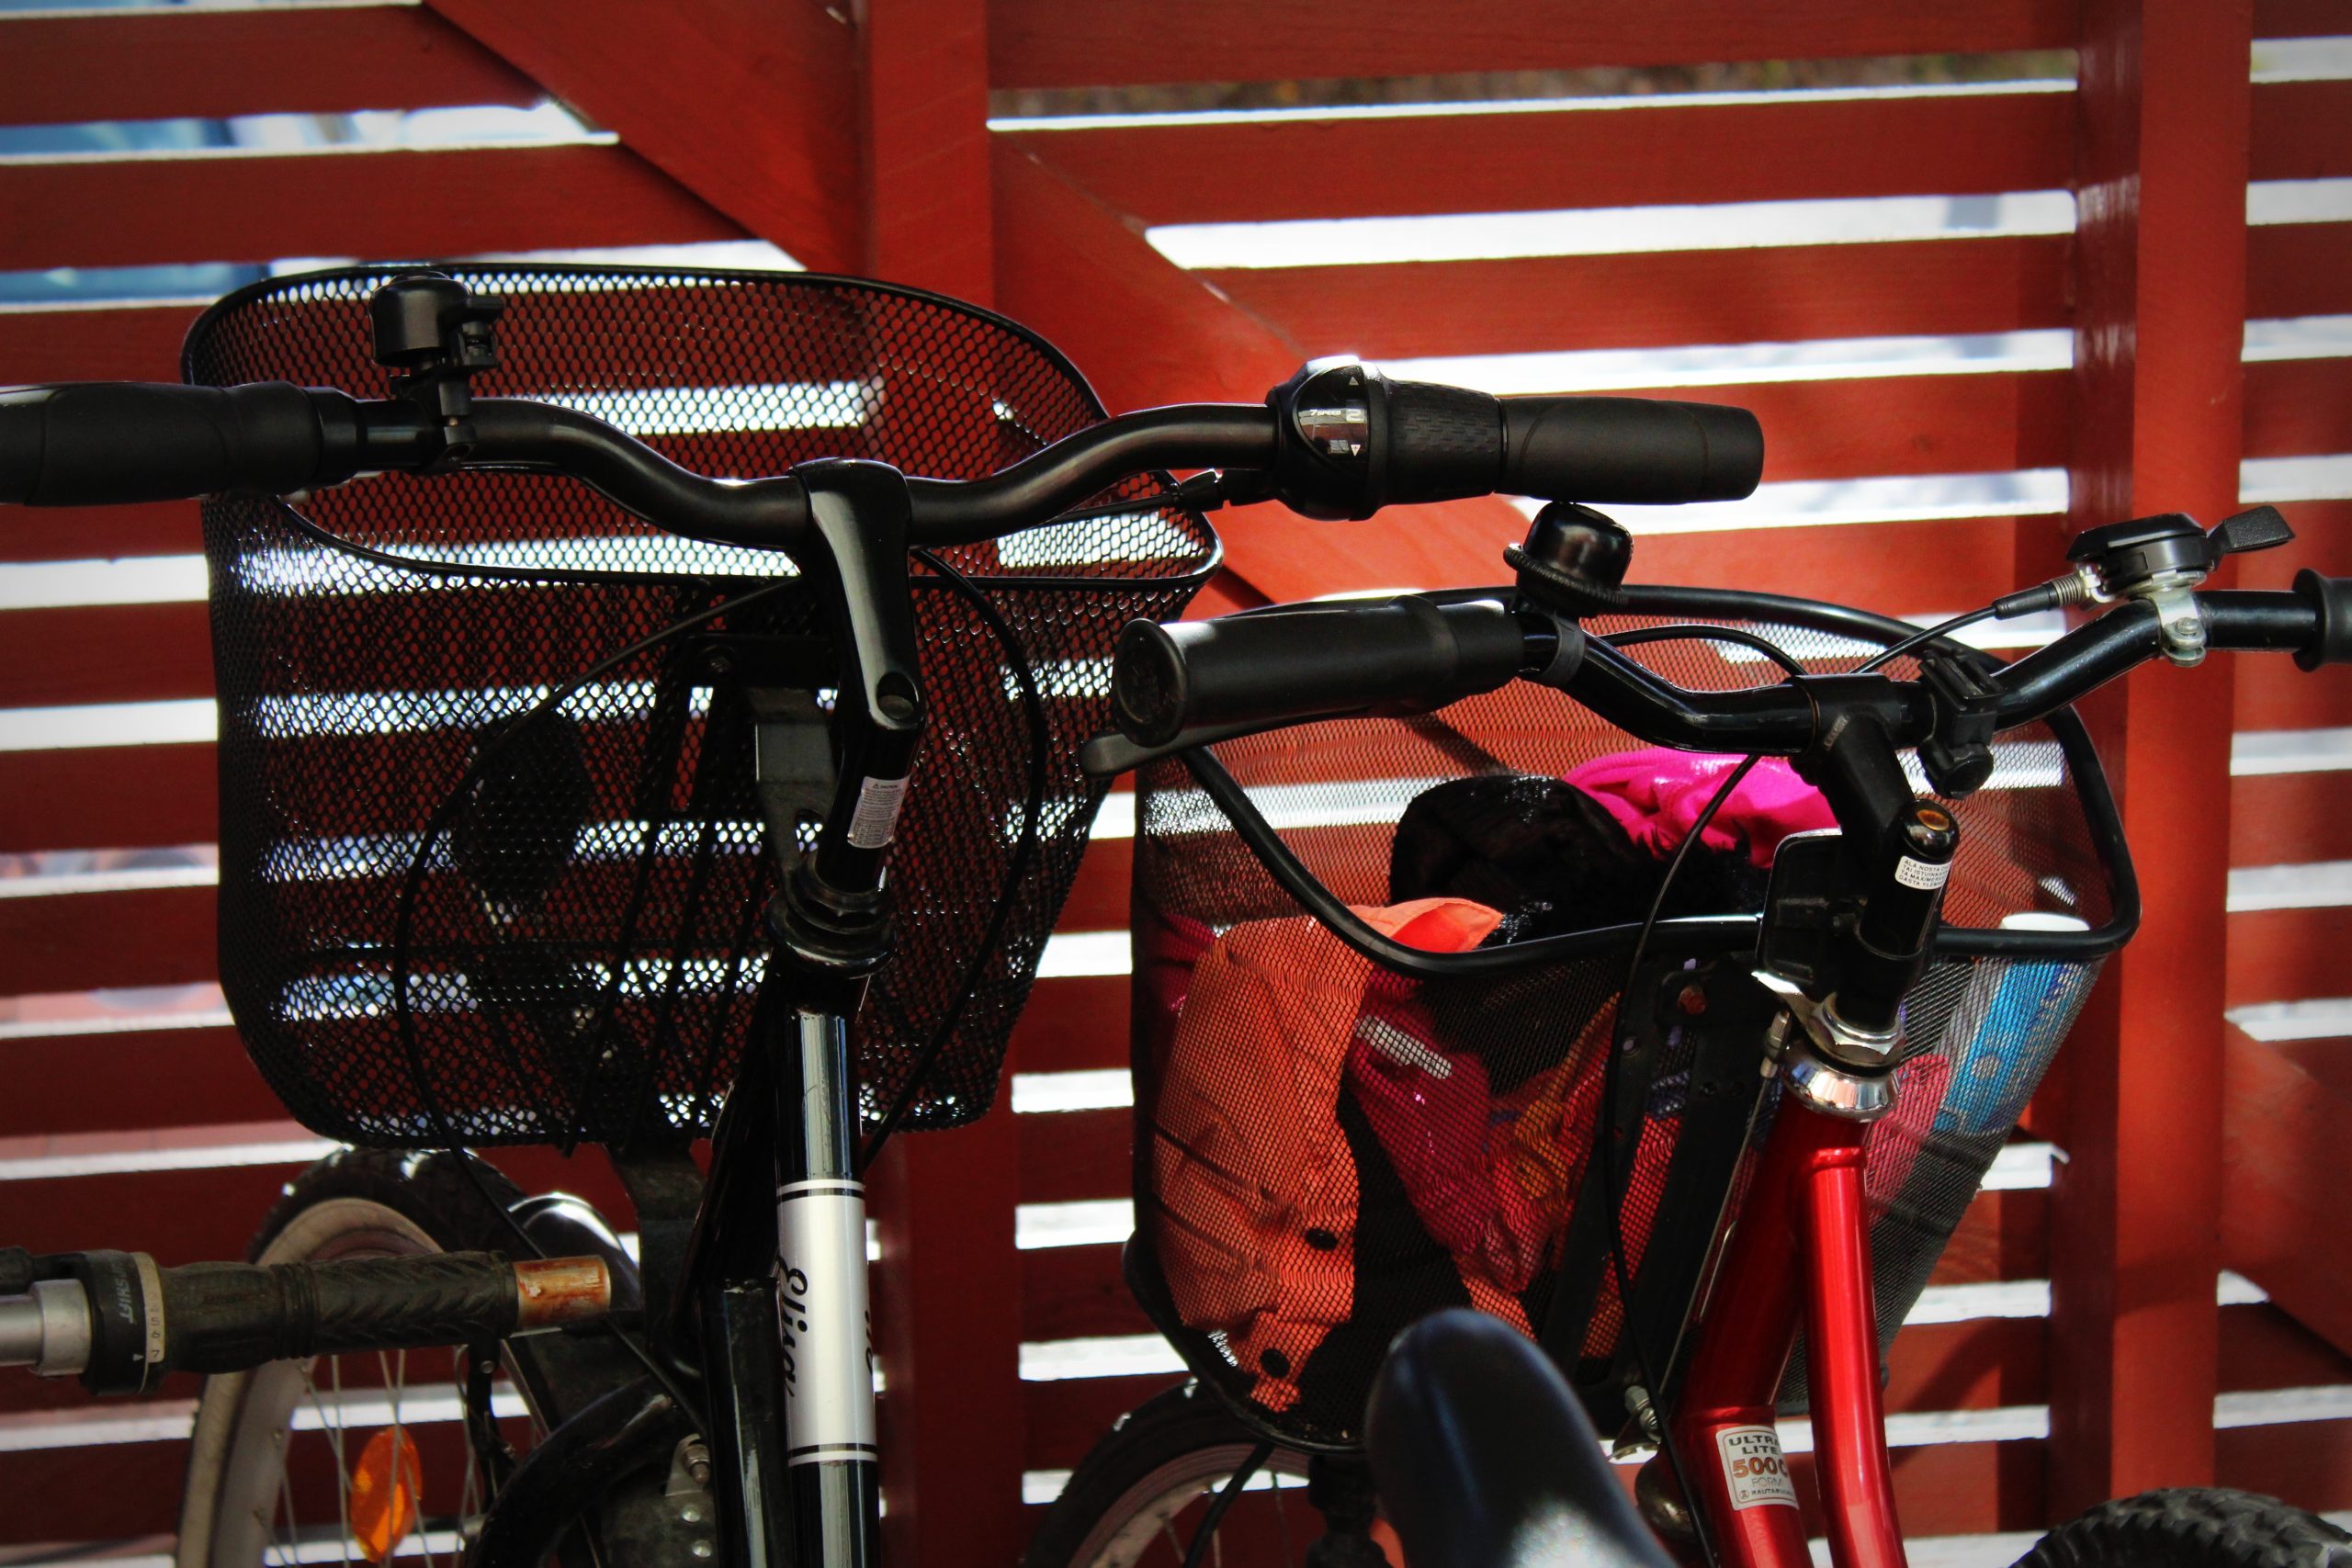
Got bikes? Consider bike hooks on the walls or ceilings to lift them up out of the way and store them safely, removing the risk of damage from being knocked into. For children’s bikes that you might want them to be able to access themselves, consider getting a metal bike rack. These can be attached to the wall or the floor (or left loose like ours is if you get one that’s sturdy enough) and are great for turning that pile of children’s bikes into something a lot more manageable and accessible. Like working out? Try adding some rubber matting to give you a designated work-out zone. Not only is this going to be more comfortable for you, it’s also going to protect your fitness items from damage, and protect your floor. Oh and it’ll help dampen any noise as well.

6. Enjoy!
Congratulations, you’ve cleaned out your garage! Not only that but you’ve set yourself up to keep it tidy for years to come thanks to the little tweaks you’ve made along the way. No more making mess trying to find things in haphazard piles, no more destruction by kids rooting around to pull out toys… everything has a place now! Try to keep on top of your garage to maintain the tidiness levels – a clearer space is far easier to sweep out, and a constant awareness of what you are and aren’t using is going to be really helpful, alongside an awareness of what you’re putting in to it. Now all you need to do is enjoy the space!


No Comments