
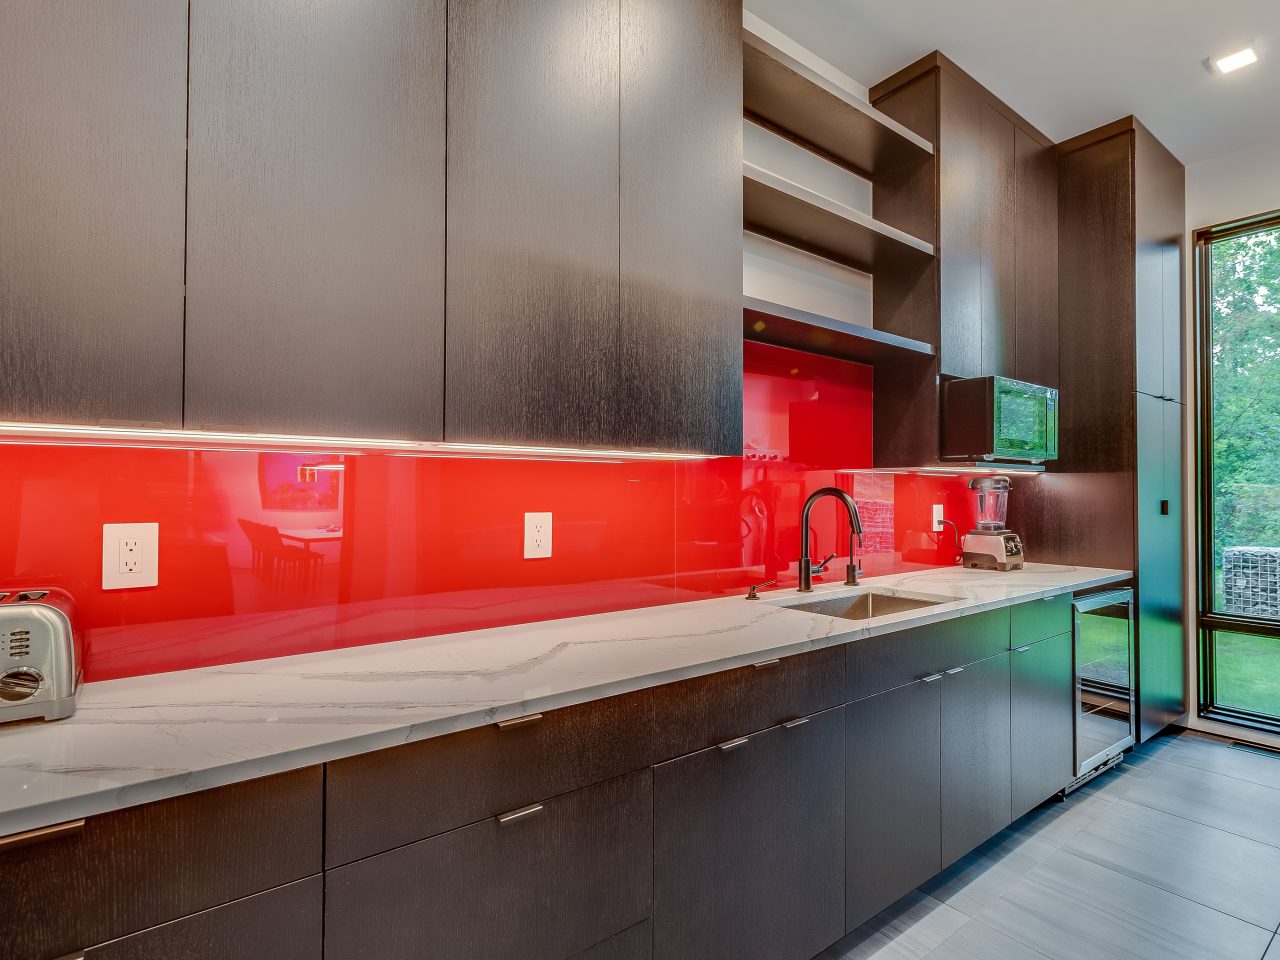
When designing or upgrading your kitchen or bathroom, one of the elements that can truly make a difference in both aesthetics and functionality is the splashback. A perfectly fitted splashback not only protects walls from spills and splashes but also adds a touch of sophistication.
If you’re considering installing a new splashback, the first step is to get accurate measurements to ensure a snug fit. Here’s a step-by-step guide on how to measure your splashback for that perfect fit.
1. Gather Your Tools
Before you get started, ensure you have the following items on hand:
- A metal measuring tape (more accurate than fabric ones)
- A pencil or pen
- A notepad or sheet of paper
- A spirit level
2. Prepare the Area
Clear away any items that might interfere with your measurements. This includes removing any kettles, toasters, or other appliances from the countertop. If you have an old splashback in place, it’s recommended to measure the new one without removing the old one first. This way, you can compare measurements.
3. Measure the Width
Starting with the width:
- Place the end of the measuring tape at one end of the wall where you plan to install the splashback.
- Extend the tape to the other end of the area.
- Ensure that the tape measure is level; this is where the spirit level can come in handy. Write down the measurement to the nearest millimetre.
4. Measure the Height
For the height:
- Determine the starting point, typically from the countertop or the top of your cooker hob.
- Extend the measuring tape upwards to the point where you want the splashback to end. This might be just below any wall units or up to the extractor hood, depending on your design preference.
- As with the width, ensure the tape measure is level and write down your measurement.
5. Account for Any Cutouts
If your splashback area has any sockets, switches, or any other features, you’ll need to measure for cutouts.
- Measure the distance from the left side of the splashback area to the left edge of the feature.
- Measure the distance from the countertop or the top of your cooker hob to the bottom edge of the feature.
- Measure the width and height of the feature.
- Note down all these measurements clearly, marking them as ‘cutouts’. Remember, accurate cutout measurements are crucial to ensure that the splashback fits seamlessly around any wall features.
6. Double Check Your Measurements
As the age-old adage goes, “Measure twice, cut once.” Before you finalise your measurements, it’s prudent to double-check. Inaccuracies, however small, can lead to sizeable problems during installation.
7. Choose Your Material
Splashbacks come in a variety of materials, each offering its own aesthetic appeal and functionality. Glass, acrylic, tiles, and stainless steel are among the popular choices. Simply Plastics, for example, offers high-quality plastic solutions that are both durable and visually appealing.
8. Seek Professional Input
If you’re unsure about your measurements or if your splashback area has a complex design, consider consulting with a professional. They can offer advice and may even take the measurements for you, ensuring precision.
Conclusion
Measuring your splashback area is the foundation for a successful installation. Accurate measurements ensure that the splashback fits seamlessly, providing the protection and aesthetic appeal you desire for your kitchen or bathroom.
With the right tools, a systematic approach, and a touch of patience, you can get the measurements right the first time around. Happy renovating!


No Comments