

If you’re new to the world of dry aged steak, you may need some clarification on how to cook this type of steak from the comfort of your home. While the dry aging process will start long before you purchase your steak, there are specific techniques you will need to follow to ensure you retain the high-quality and divine taste that comes from dry aged steak. This article will take you through how you can cook dry aged steak, with tips, techniques and a thorough rundown of this process provided.
Why do you cook dry aged steak differently?
Dry aged steak has a different moisture level than the usual steak cut you would find from a supermarket. In the dry ageing process, it is estimated that steak loses around 30% of its moisture. Therefore, you won’t need to cook your dry aged steak for as long as you usually would.
What is the best temperature to cook dry aged steak?
Regarding which temperature is best for cooking dry aged steak, it depends on how you would like your steak cooked and your cooking method. If you’re cooking your steak in the oven, 400F is the best temperature. On the other hand, if you’re cooking your steak on a stovetop, you should start at a high temperature to sear the steak, then move to a medium temperature to cook the meat all the way through.
What is the best steak to dry age?
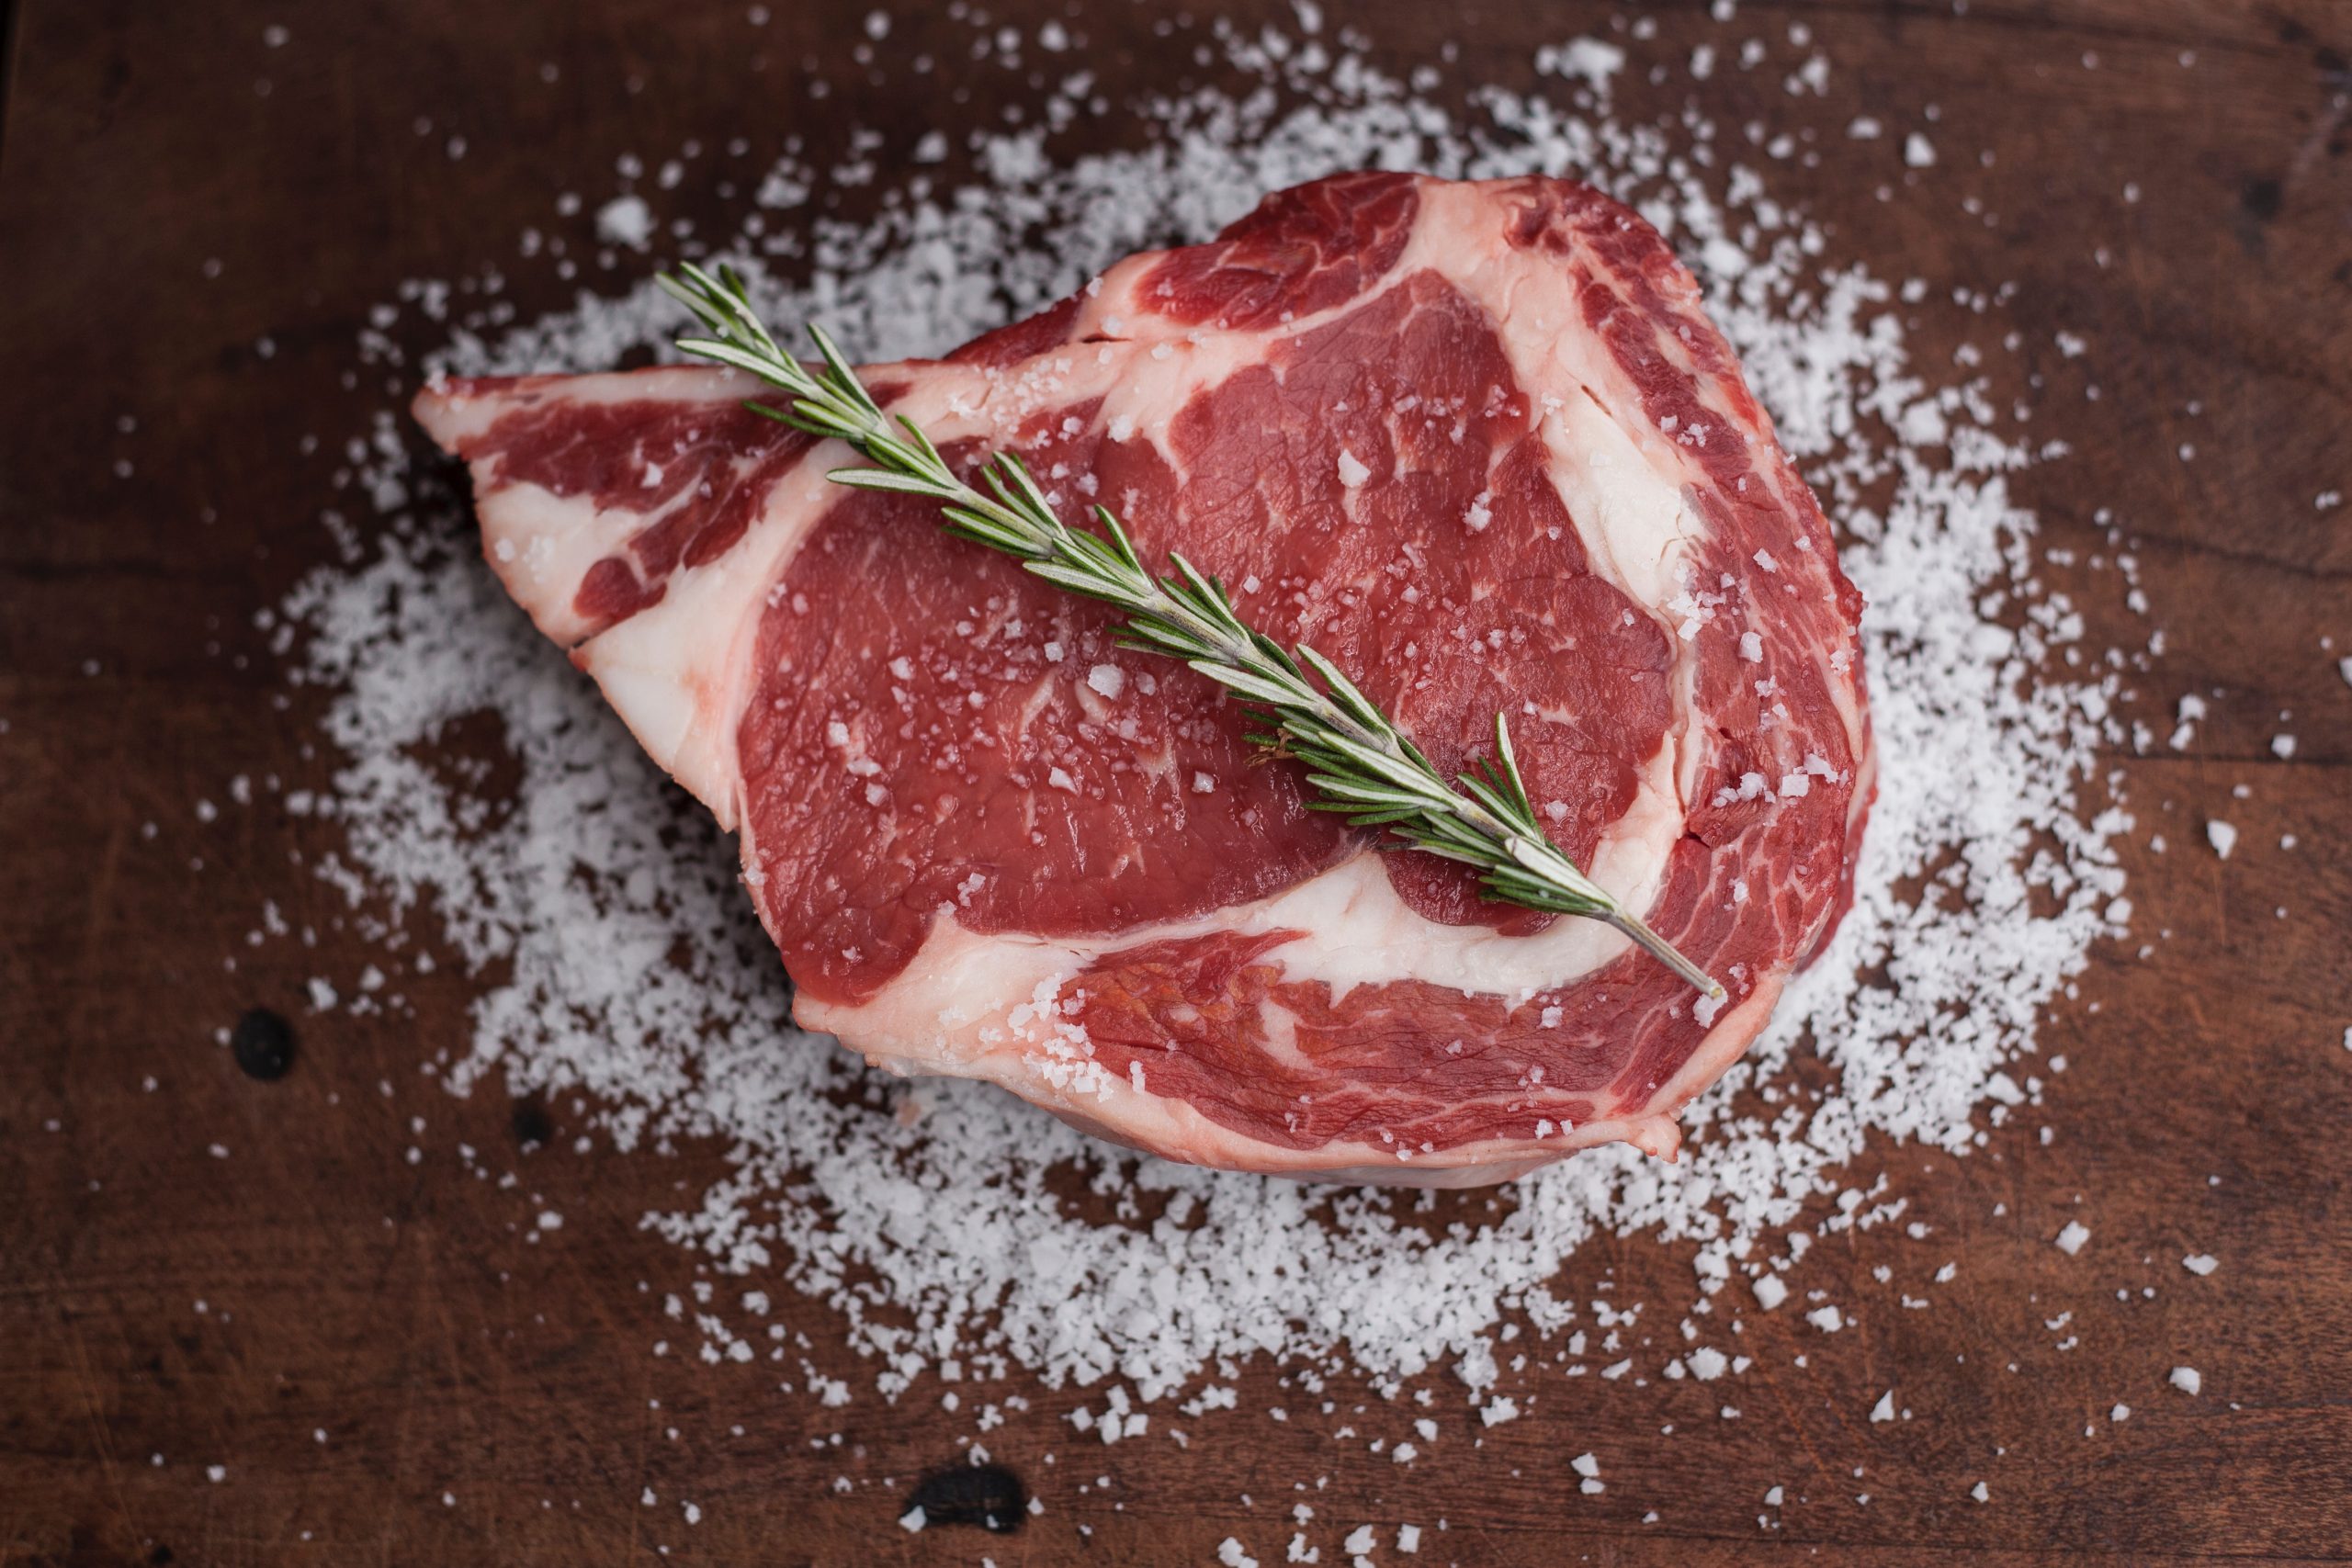
Rib eye is one of the best steaks that you can dry age. Any cut of meat undergoing a dry ageing process should have a high-fat content to ensure the meat doesn’t dry out. You can think of the dense layer of fat as a source of protection throughout the ageing process, keeping the meat rich and moist even after it has been dry aged.
How to cook dry aged steak:
Now that we have taken you through the essential information you need before cooking a dry aged steak, you should have a better idea of the preparation and facts you need to consider. The good news is that our recommended cooking process is simple but effective.
To ensure that you can savour as much of your steak as possible, here’s 6 easy steps to follow when cooking dry aged steak for beginners:
- Step 1: Thaw Carefully
- Step 2: Season Generously
- Step 3: Sear For 1-2 Minutes
- Step 4: Cook On Medium Heat
- Step 5: Turn Frequently
- Step 6: Leave To Rest
STEP #1: THAW CAREFULLY:
Dry aged steak can be frozen but must be thoroughly thawed before cooking. We recommend thawing your steak for three days in the fridge before cooking to ensure the meat is fully thawed. Leave to adjust to room temperature for around half an hour whilst you prepare your other ingredients on the day of cooking too.
STEP #2: SEASON GENEROUSLY:
Whilst your dry aged steak will undoubtedly have an exceptional taste; you can take this sensation to another level by seasoning the meat properly. Olive oil and black pepper will create a decadent flavour whilst not taking away from the meat’s flavour. Of course, adding sea salt is a must too, but only do this a couple of minutes before cooking to prevent your meat from drying out.
STEP #3: SEAR FOR 1-2 MINUTES:
Quickly searing each side of your steak for a short time will ensure a tantalising caramelised texture and flavour on the outside of the meat without overdoing the inside. Searing will lock in these intense flavours whilst ensuring your meat is a beautiful texture.
STEP #4: COOK ON MEDIUM HEAT:
Once each side of your steak has been seared, it is time to cook your meat by lowering your stove temperature to medium heat. You can determine the length of your medium-heat cooking by considering how you want your meat to be cooked; rare, medium, or well-done. For a rare finish, try three minutes. For medium-rare, try four minutes. For medium, five minutes. For well-done, six minutes.
STEP #5: TURN FREQUENTLY:
An essential step to cooking your steak is to turn the meat frequently, as the last thing you want is an uneven finish, with each side being different. You can use tongs to turn your steak which will prevent losing any of the juices in the way that using a fork or tool that requires penetrating the surface would.
STEP #6: LEAVE TO REST:
For the perfect finish to your meat, you should leave your steak to rest for around five minutes. Leaving your steak to rest will help the juices to redistribute and be held inside instead of seeping out the way they would if you immediately cut into the steak. Leaving your steak to rest will give you a tender and succulent finish.


No Comments